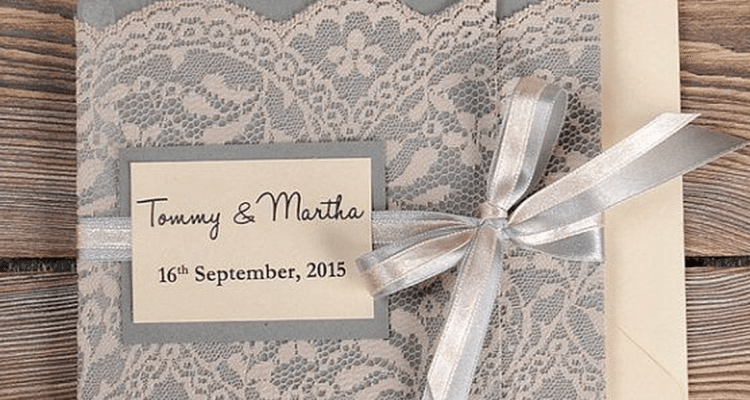
Select a Background
Start by choosing heavy cover stock for the background. A wide variety of papers are available in many distinctive colors and textures — try rich solids, shimmering metallics, printed cards with subtle designs, or handmade paper embedded with real flower petals.

Next, choose the paper you will print on to layer on top of the background card. Select from translucent vellum to reveal the background card beneath, or a crisp opaque white for contrast against darker cards. Be sure your chosen paper is compatible with the printer you will be using; a laser printer or copier is recommended. However, water resistant inkjet ink is available or you could use an inkjet printer to create the artwork, and then photocopy it onto the overlay. Add your text and any desired graphics, experimenting with different fonts and sizes to design a unique custom look.
Fasten Away
You can use various methods to fasten the printed overlay to the background card. A faux wax seal could be used to bind the papers together for a sophisticated look; for pure romance, tie them together with sheer chiffon ribbon. For a unique touch, add a small metal charm, use a dainty crush-proof flower or fine paper sash.
Off to the Post Office
Your local post office can weigh your finished product to determine the correct postage. Your guests will be impressed by your one-of-a-kind unique invitations and no one will ever guess you made them yourself!
More ideas for unique and affordable invitations can be found at www.formal-invitations.com.


