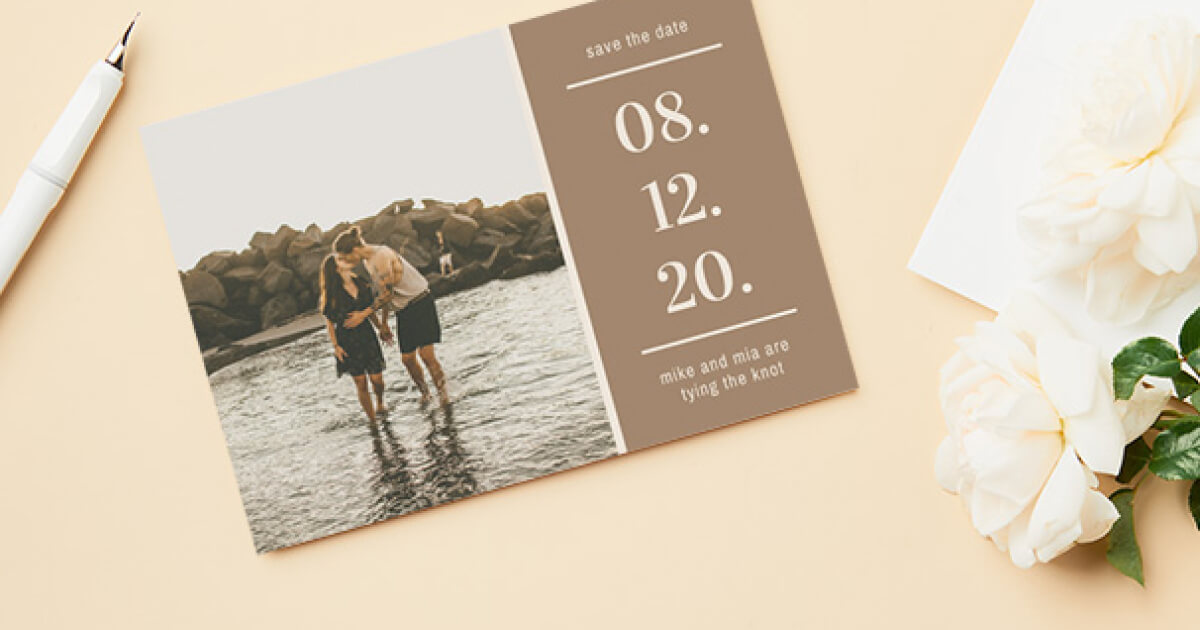
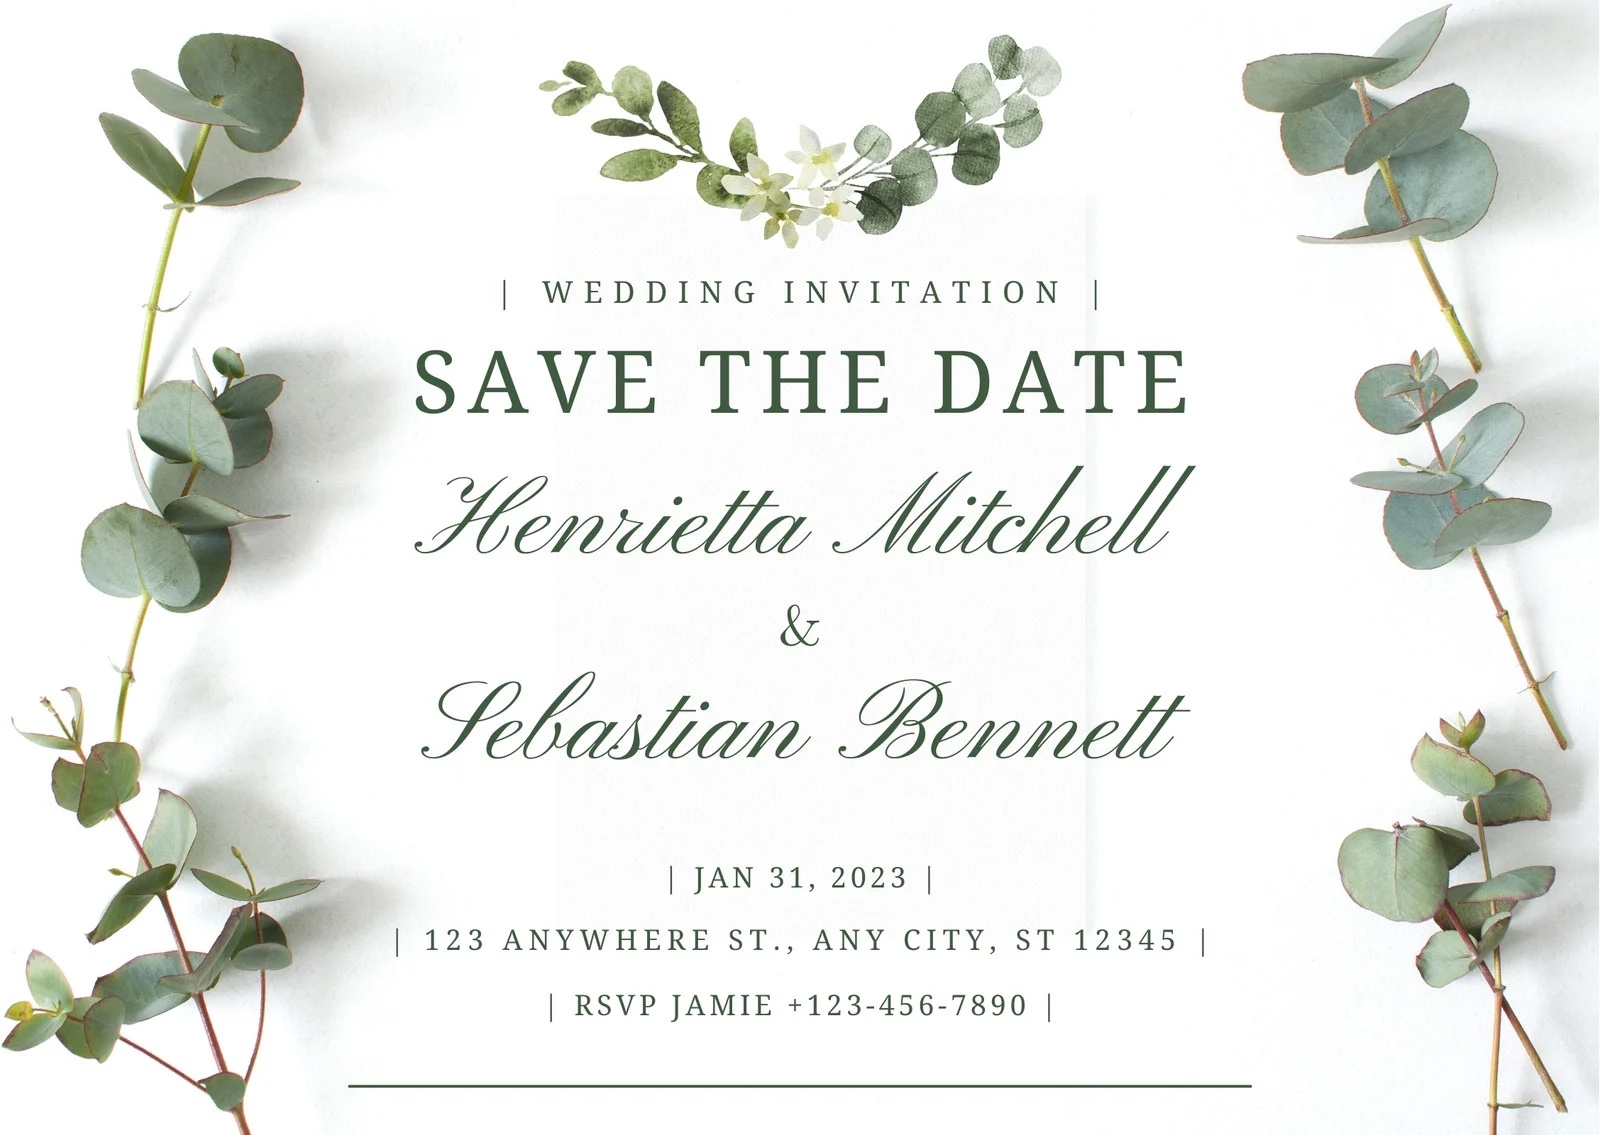
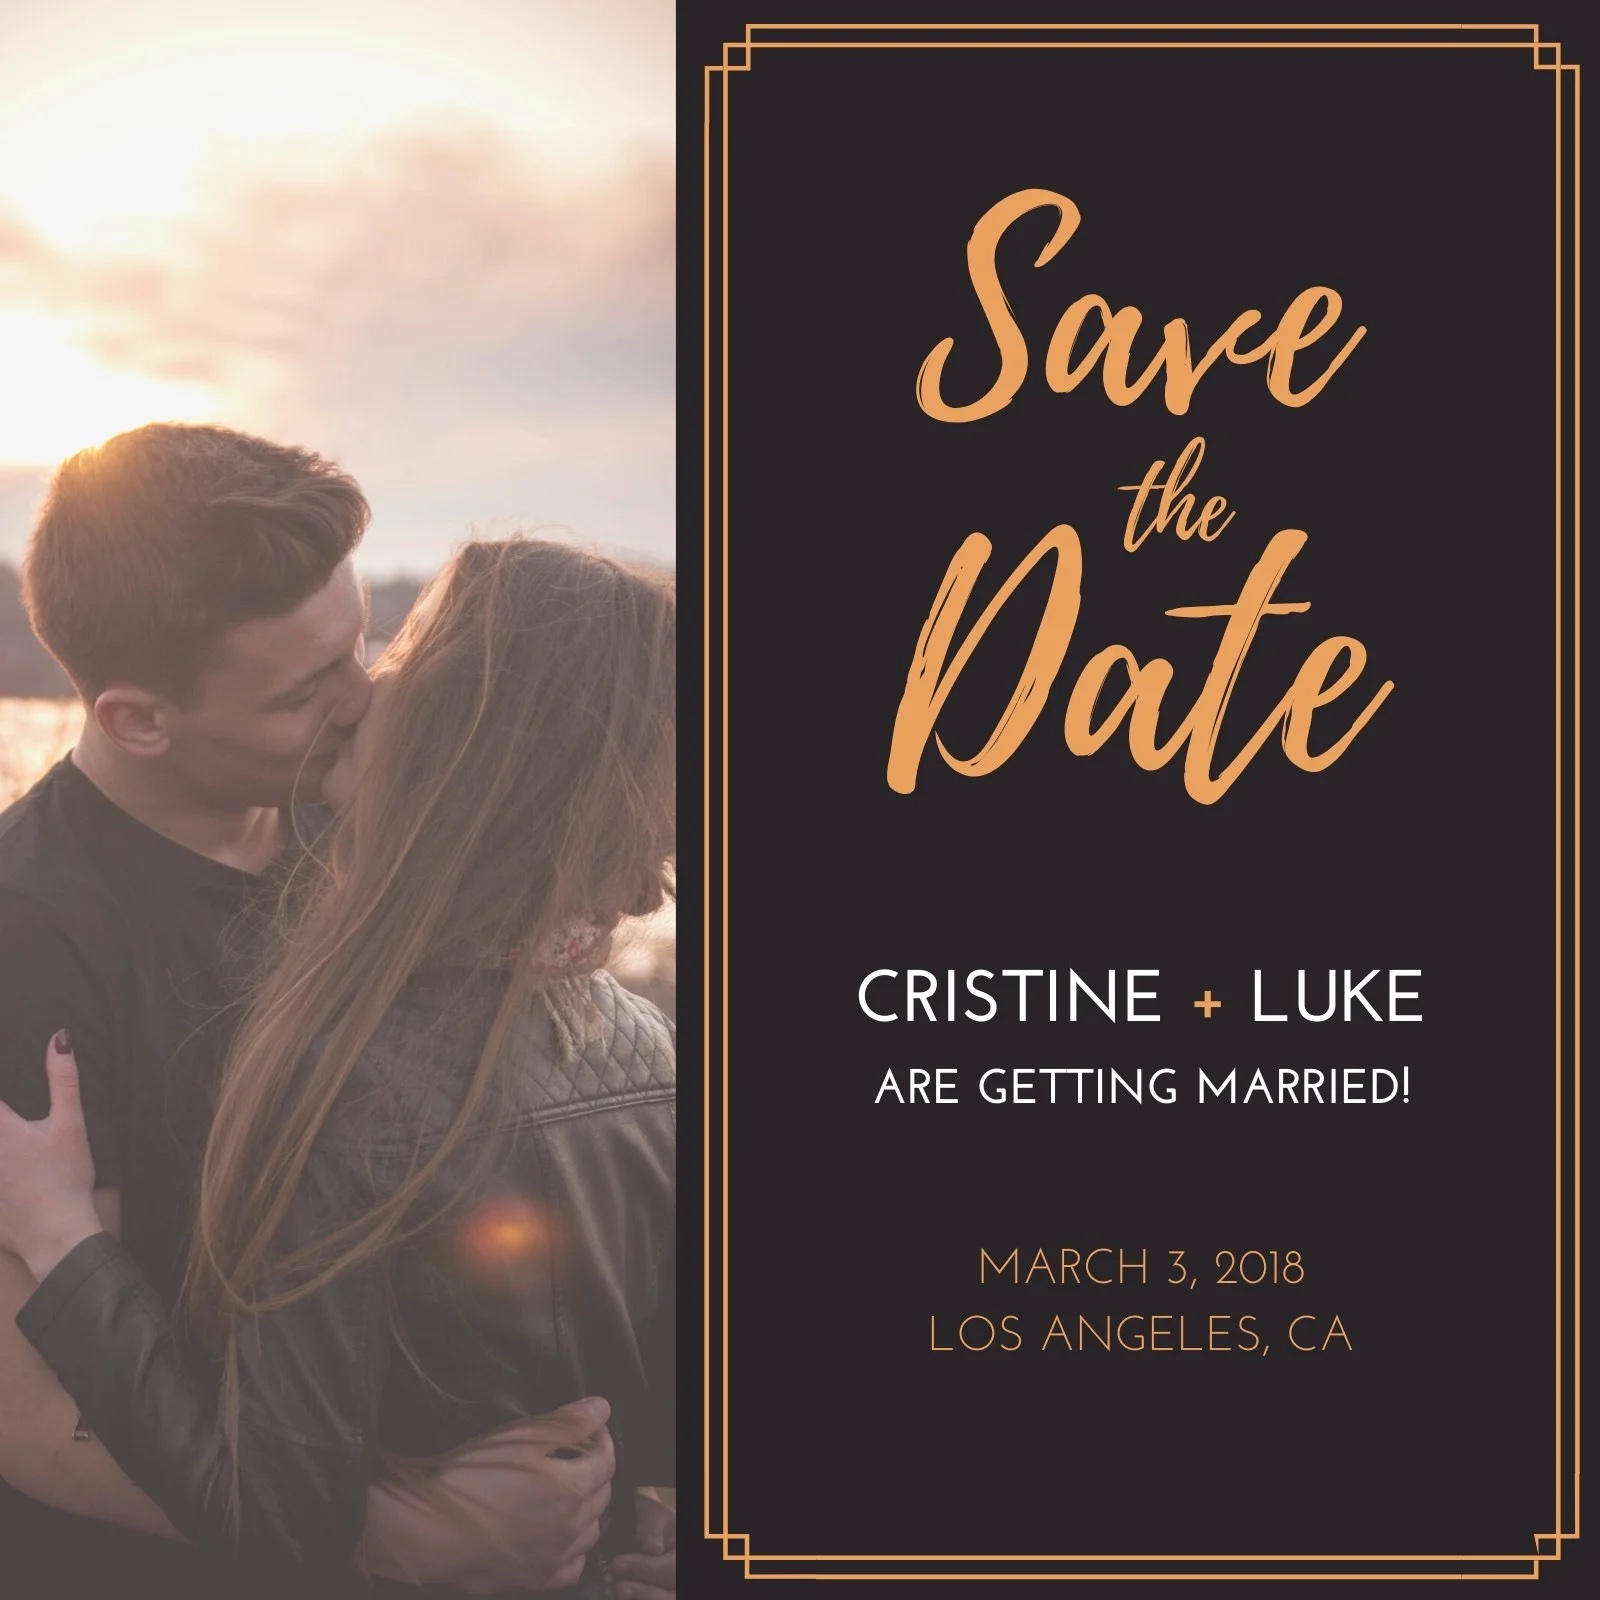
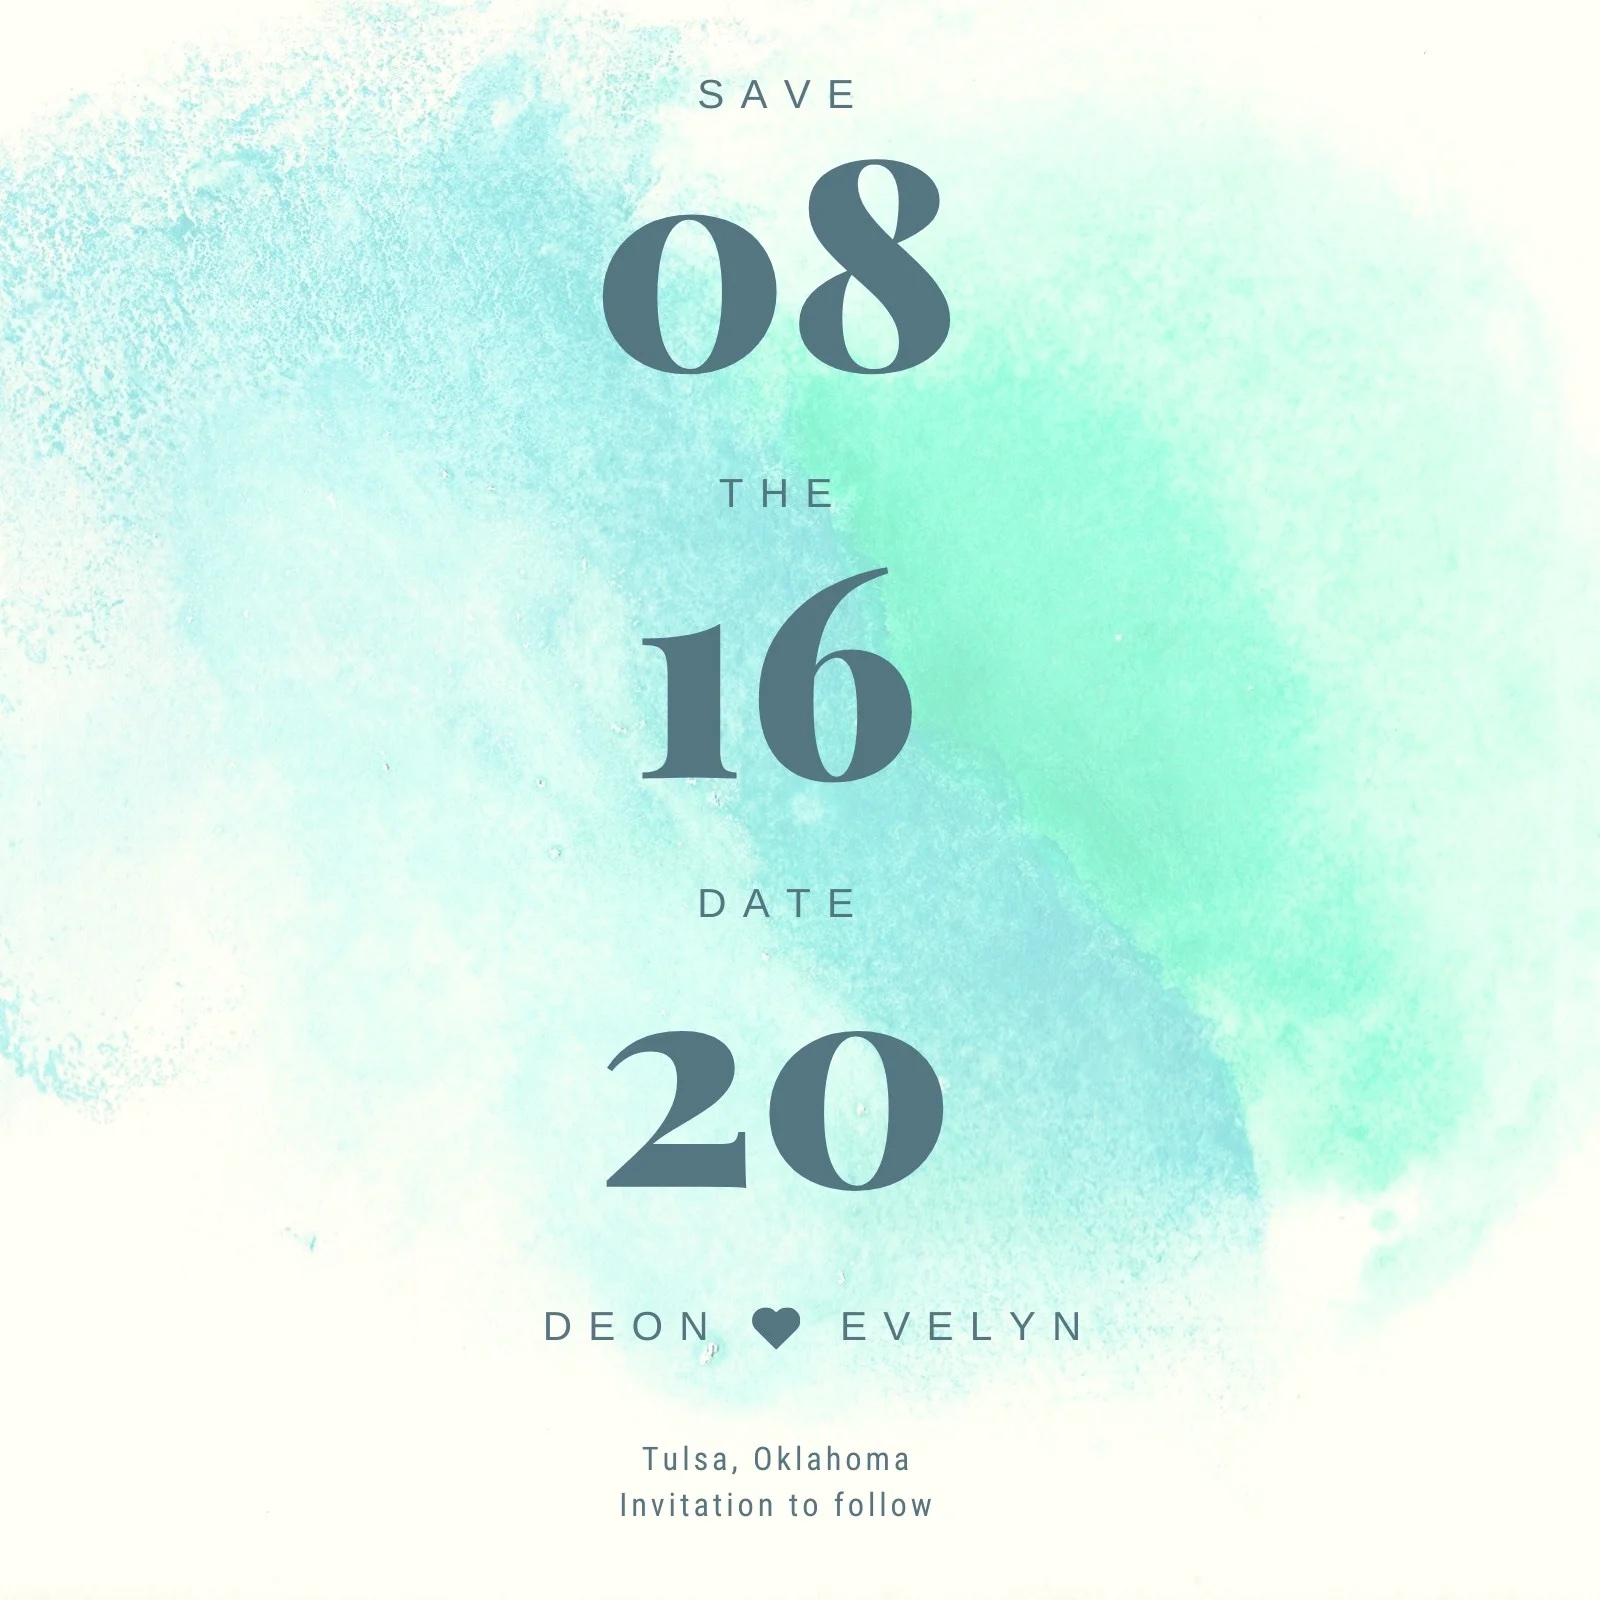
Your engagement has been announced, the big date has been set, and now it’s time to ensure your guests mark the calendars for the upcoming celebration. Canva can help walk you through personalizing some of the most on-trend and beautiful save-the-date cards that will allow you to go worry free. Shipping times or giant price tags need not be a stresser. Instead, you can easily have your hand in the designing and customizing of a sentimental and memorable card to remind your family and friends to plan for your nuptials.
Stock photos, artistic elements, an array of colors, borders, and fonts galore, there’s something to fit every vision and enough to ignite inspiration for something new and unique as well. From contemporary to fashion-forward to holiday-inspired, there’s a template, there’s a vision, and there’s a way to make it happen.
How To Create Your Own Save The Date
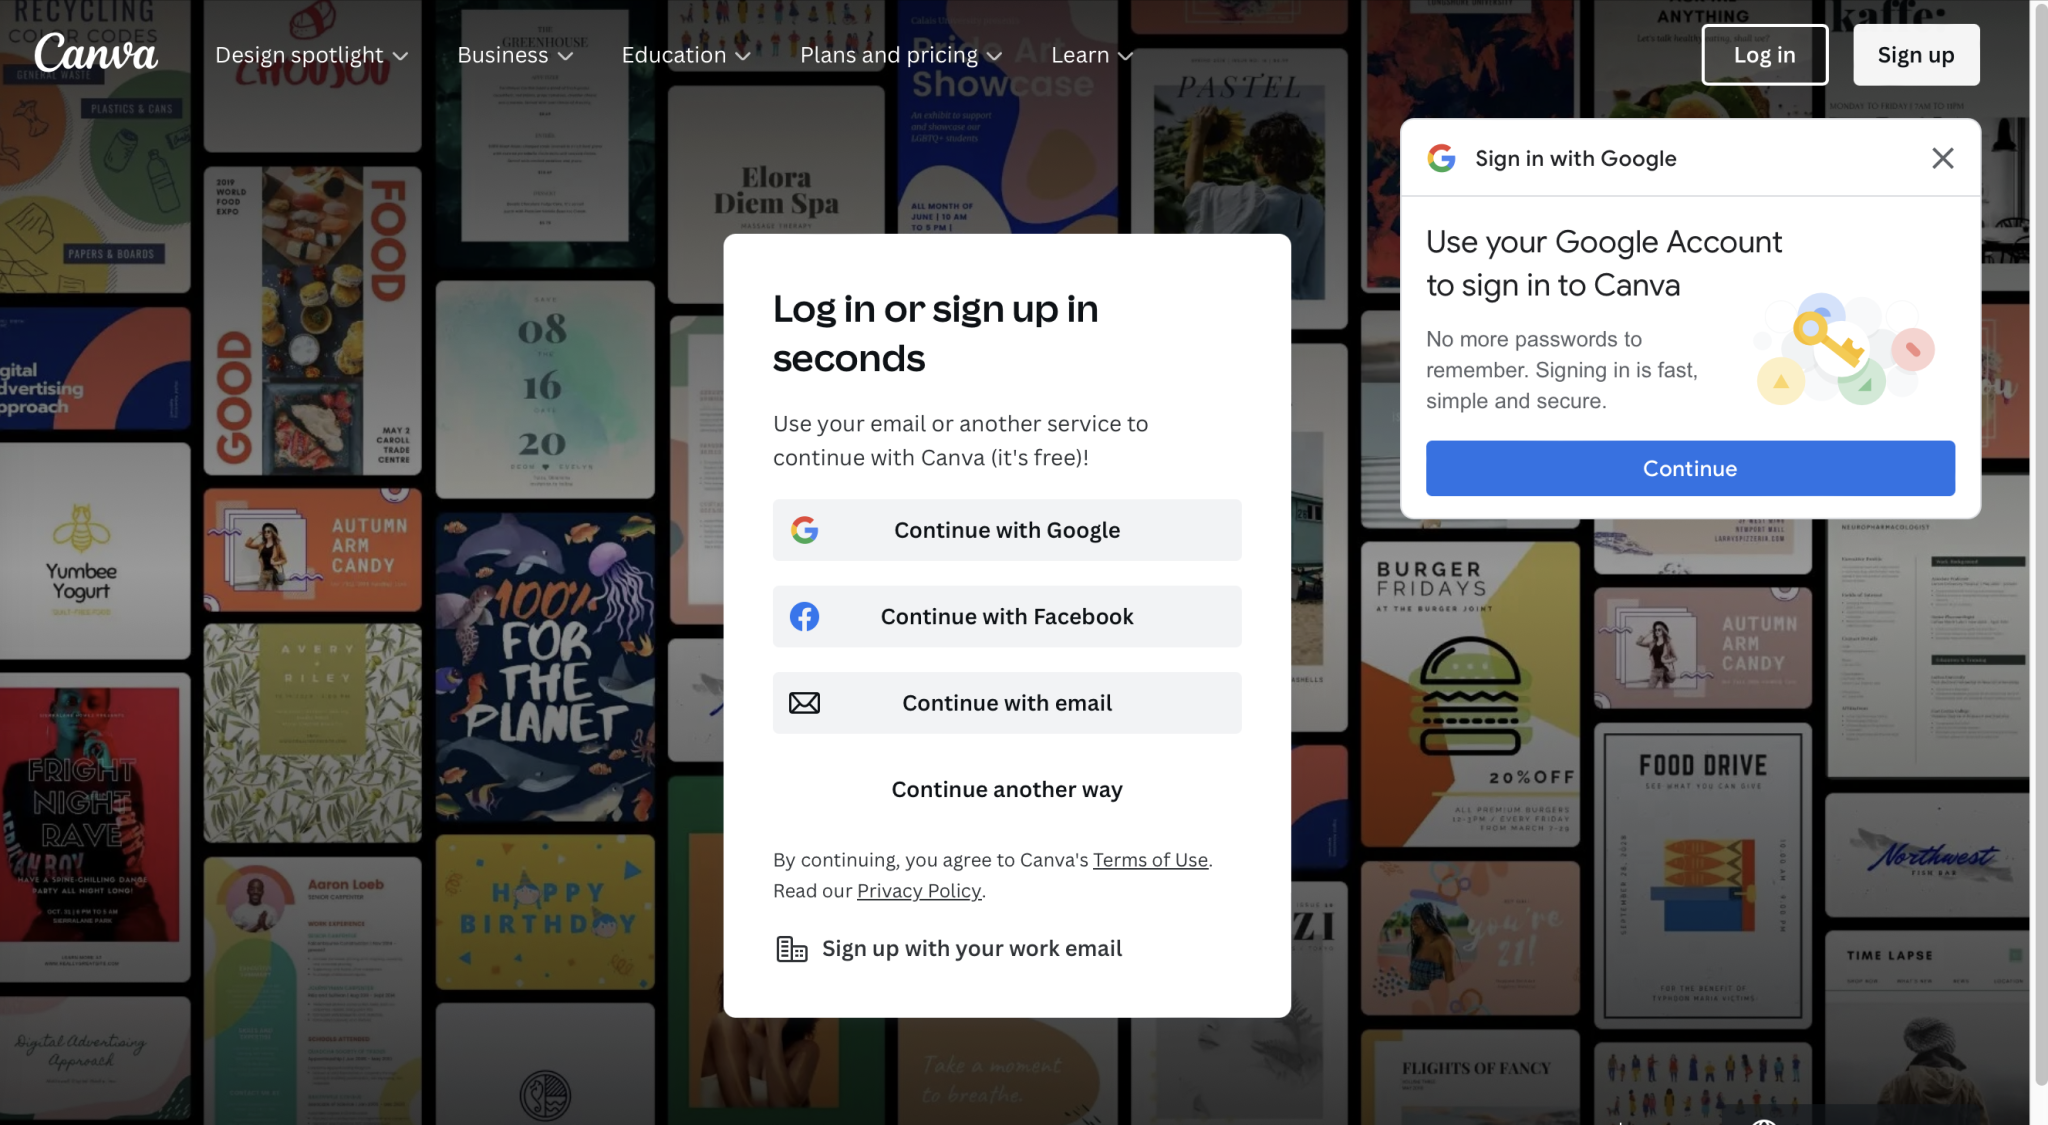
Step 1: Create A Canva Account/Sign In
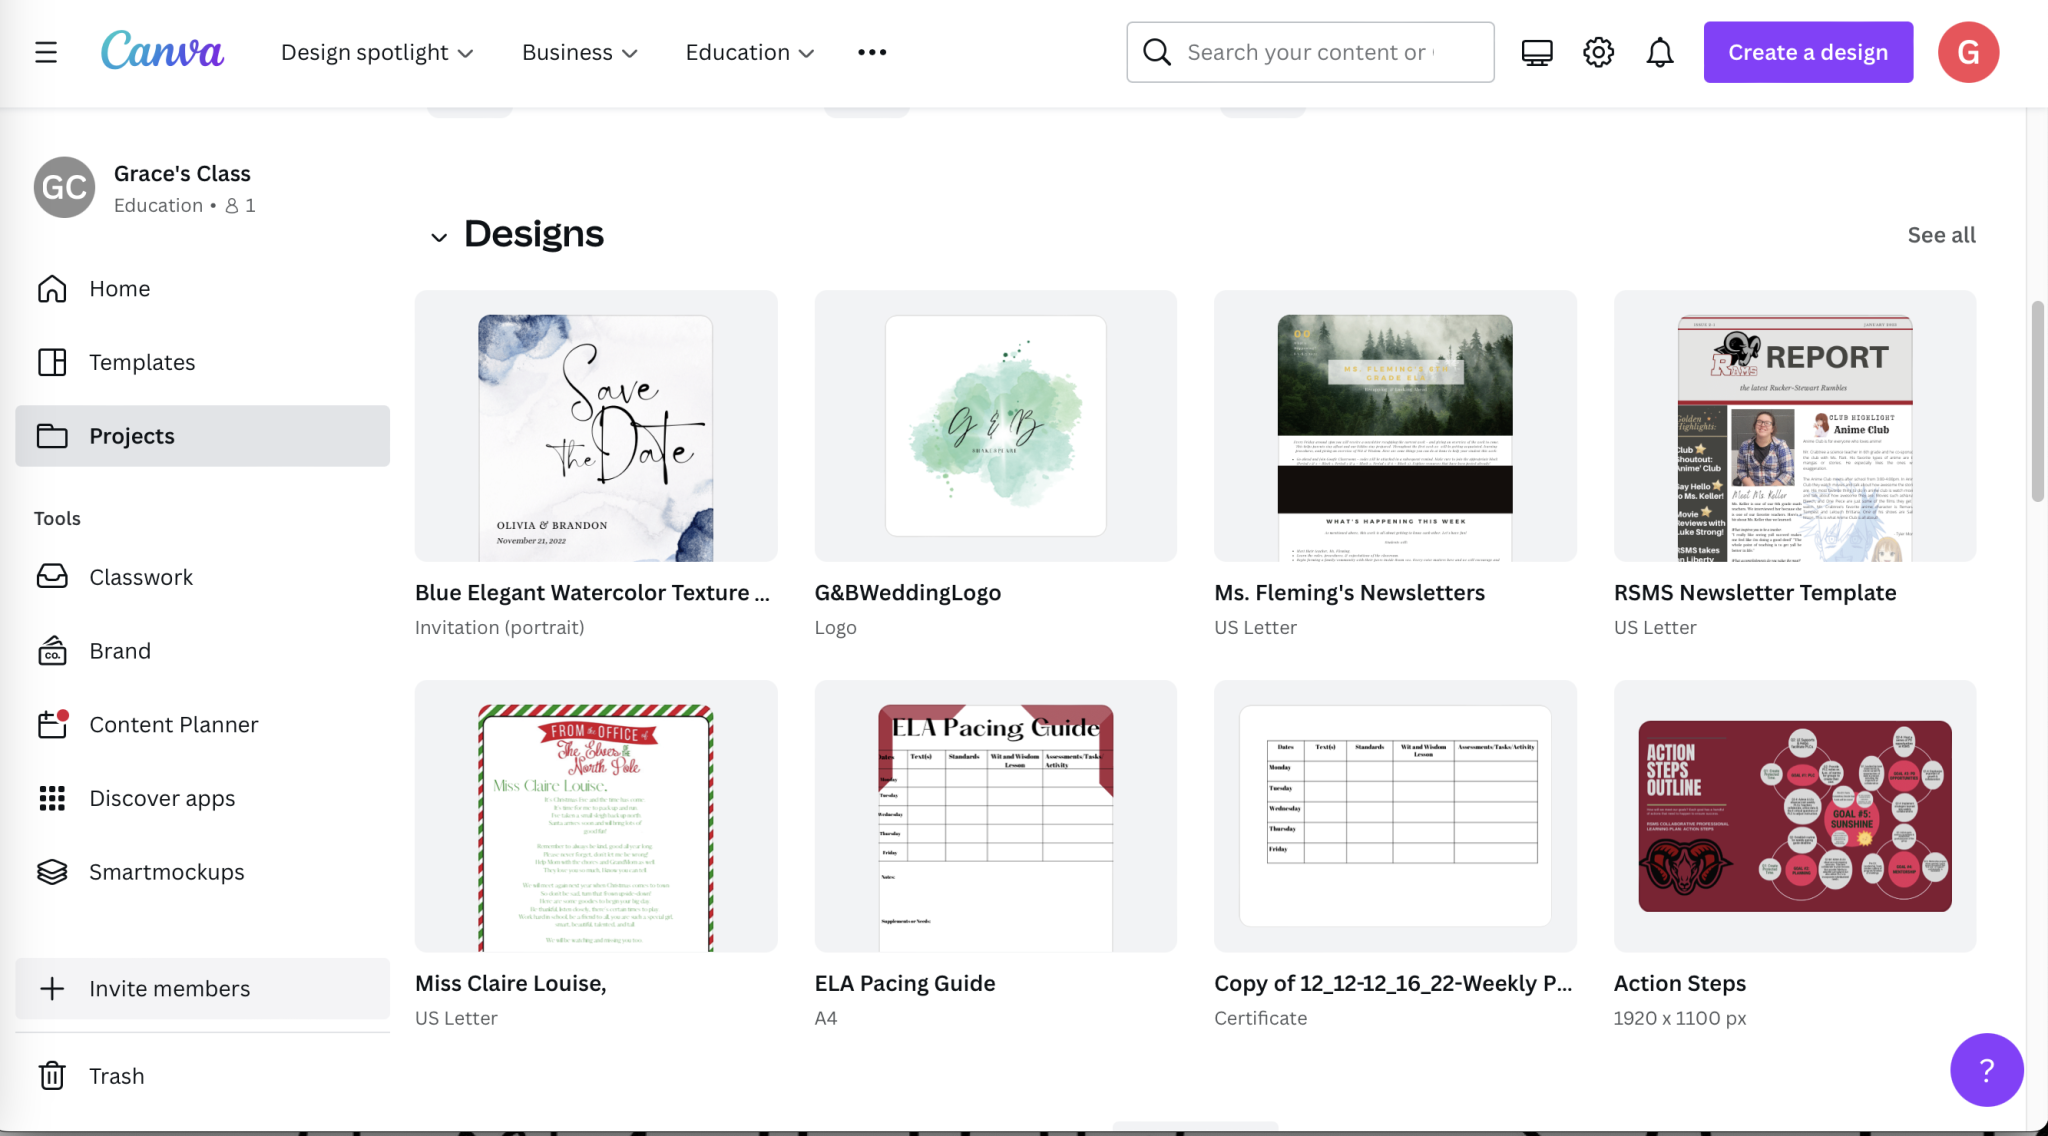
The easiest step of the bunch. Your first step is to create your free or premium Canva account. Then, you’ll need to sign in to your account to get your search and set-up started.
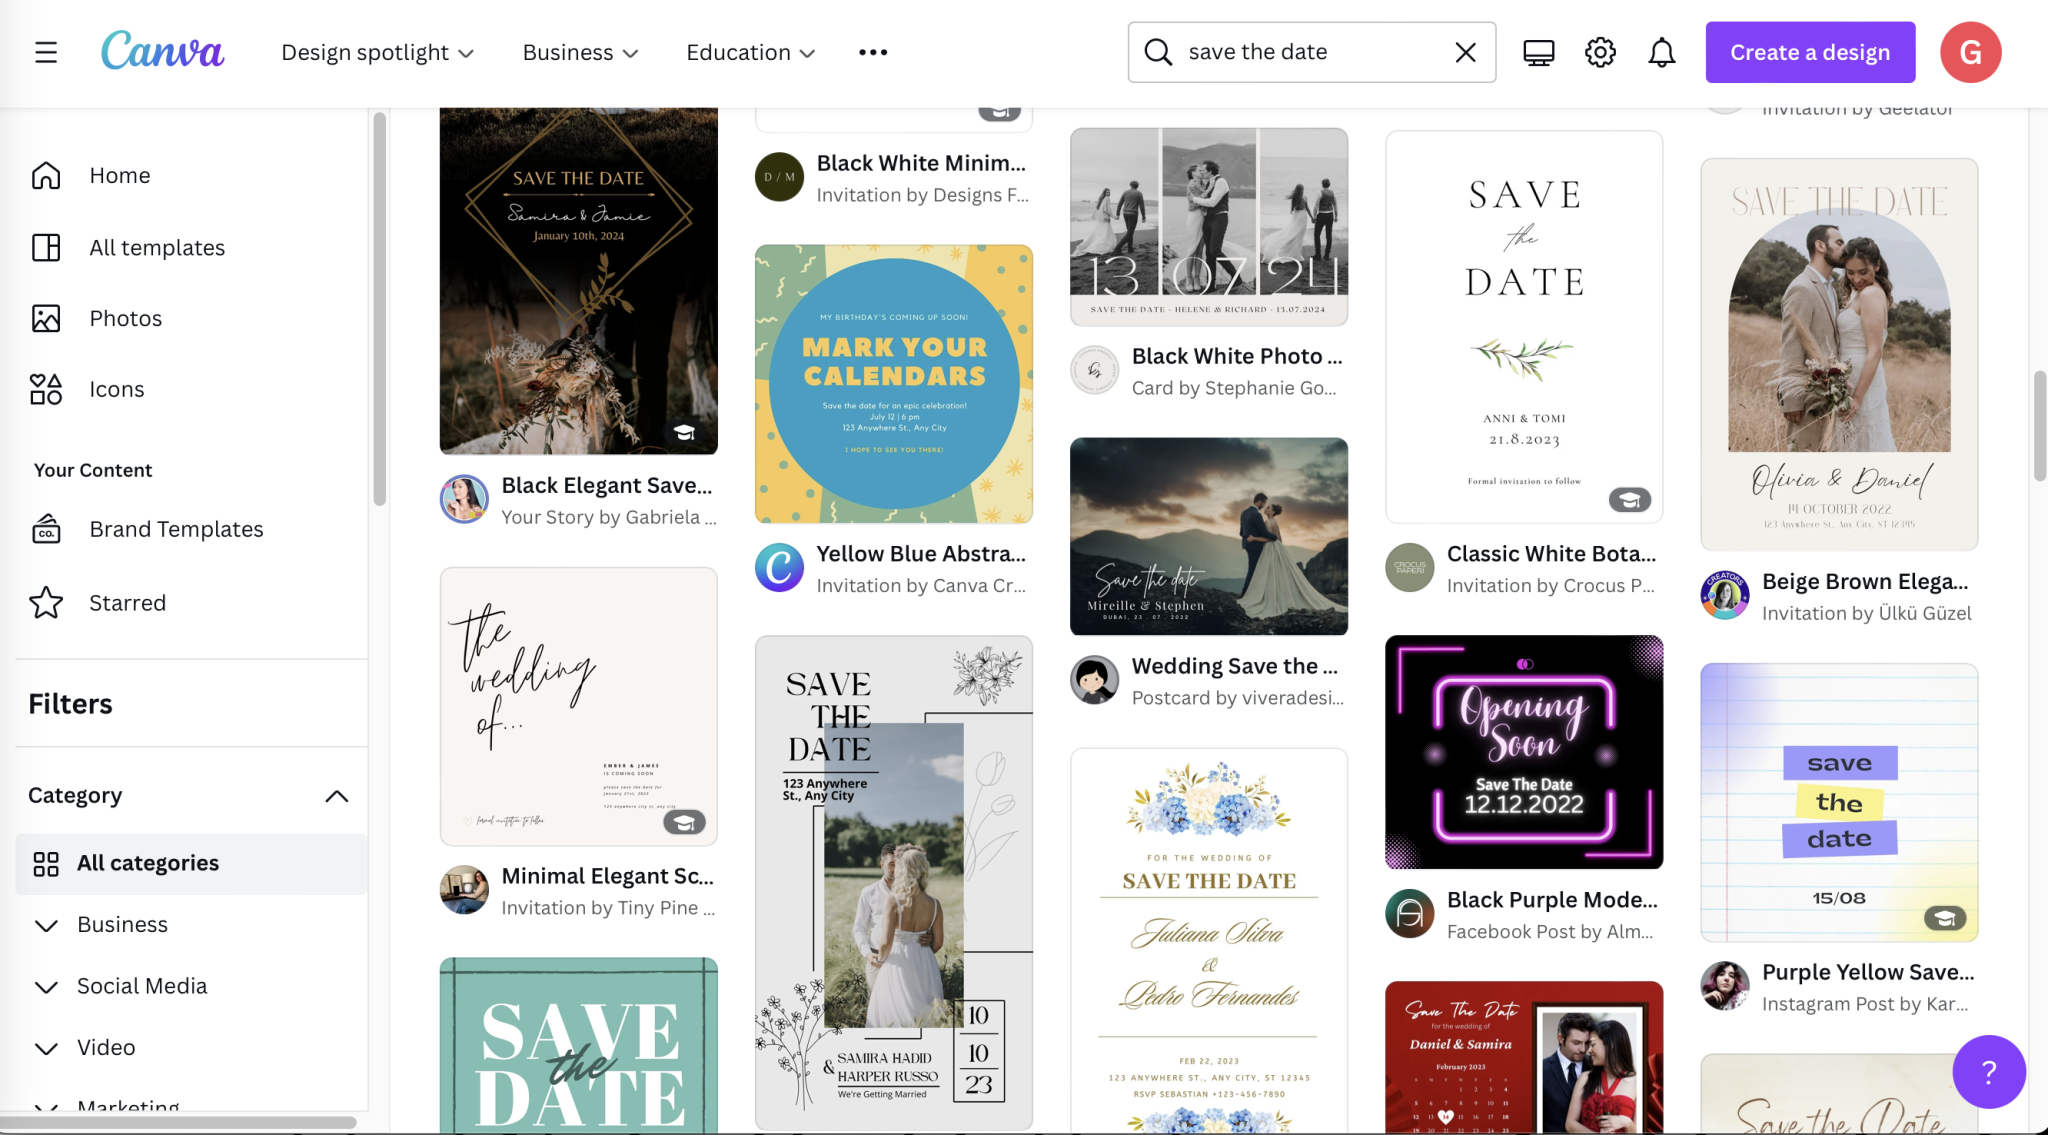
Step 2: Search “Save the Date”
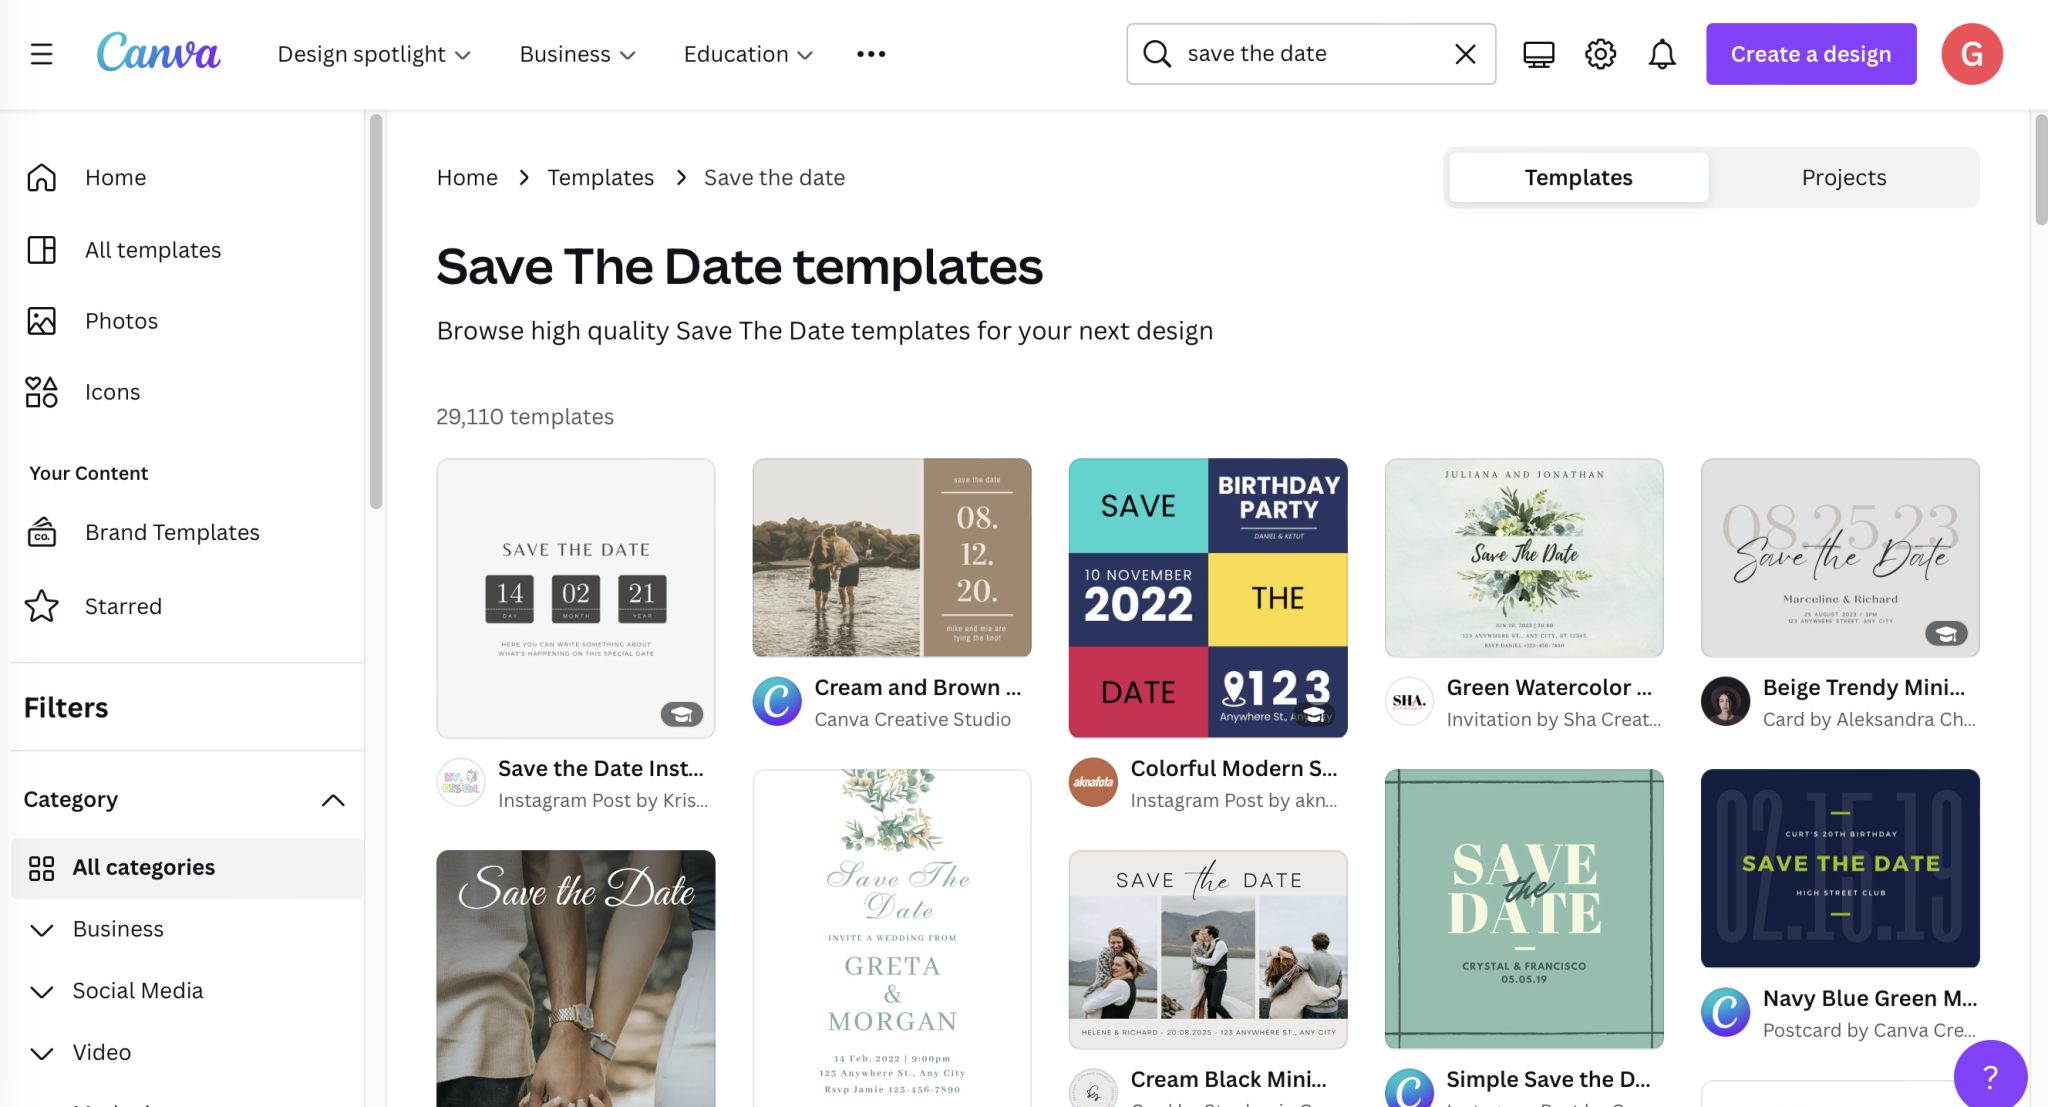
Once you’re inside – it’s time to search for what you need. You’ll want to launch a “Save the Date” search. This will get you to all the beautiful templates. You can narrow down the hunt by including the term “wedding” but by searching “save the date” you’ll be able to pull up all themes and variations that may spark some inspiration you need.
Step 3: Gather Inspiration
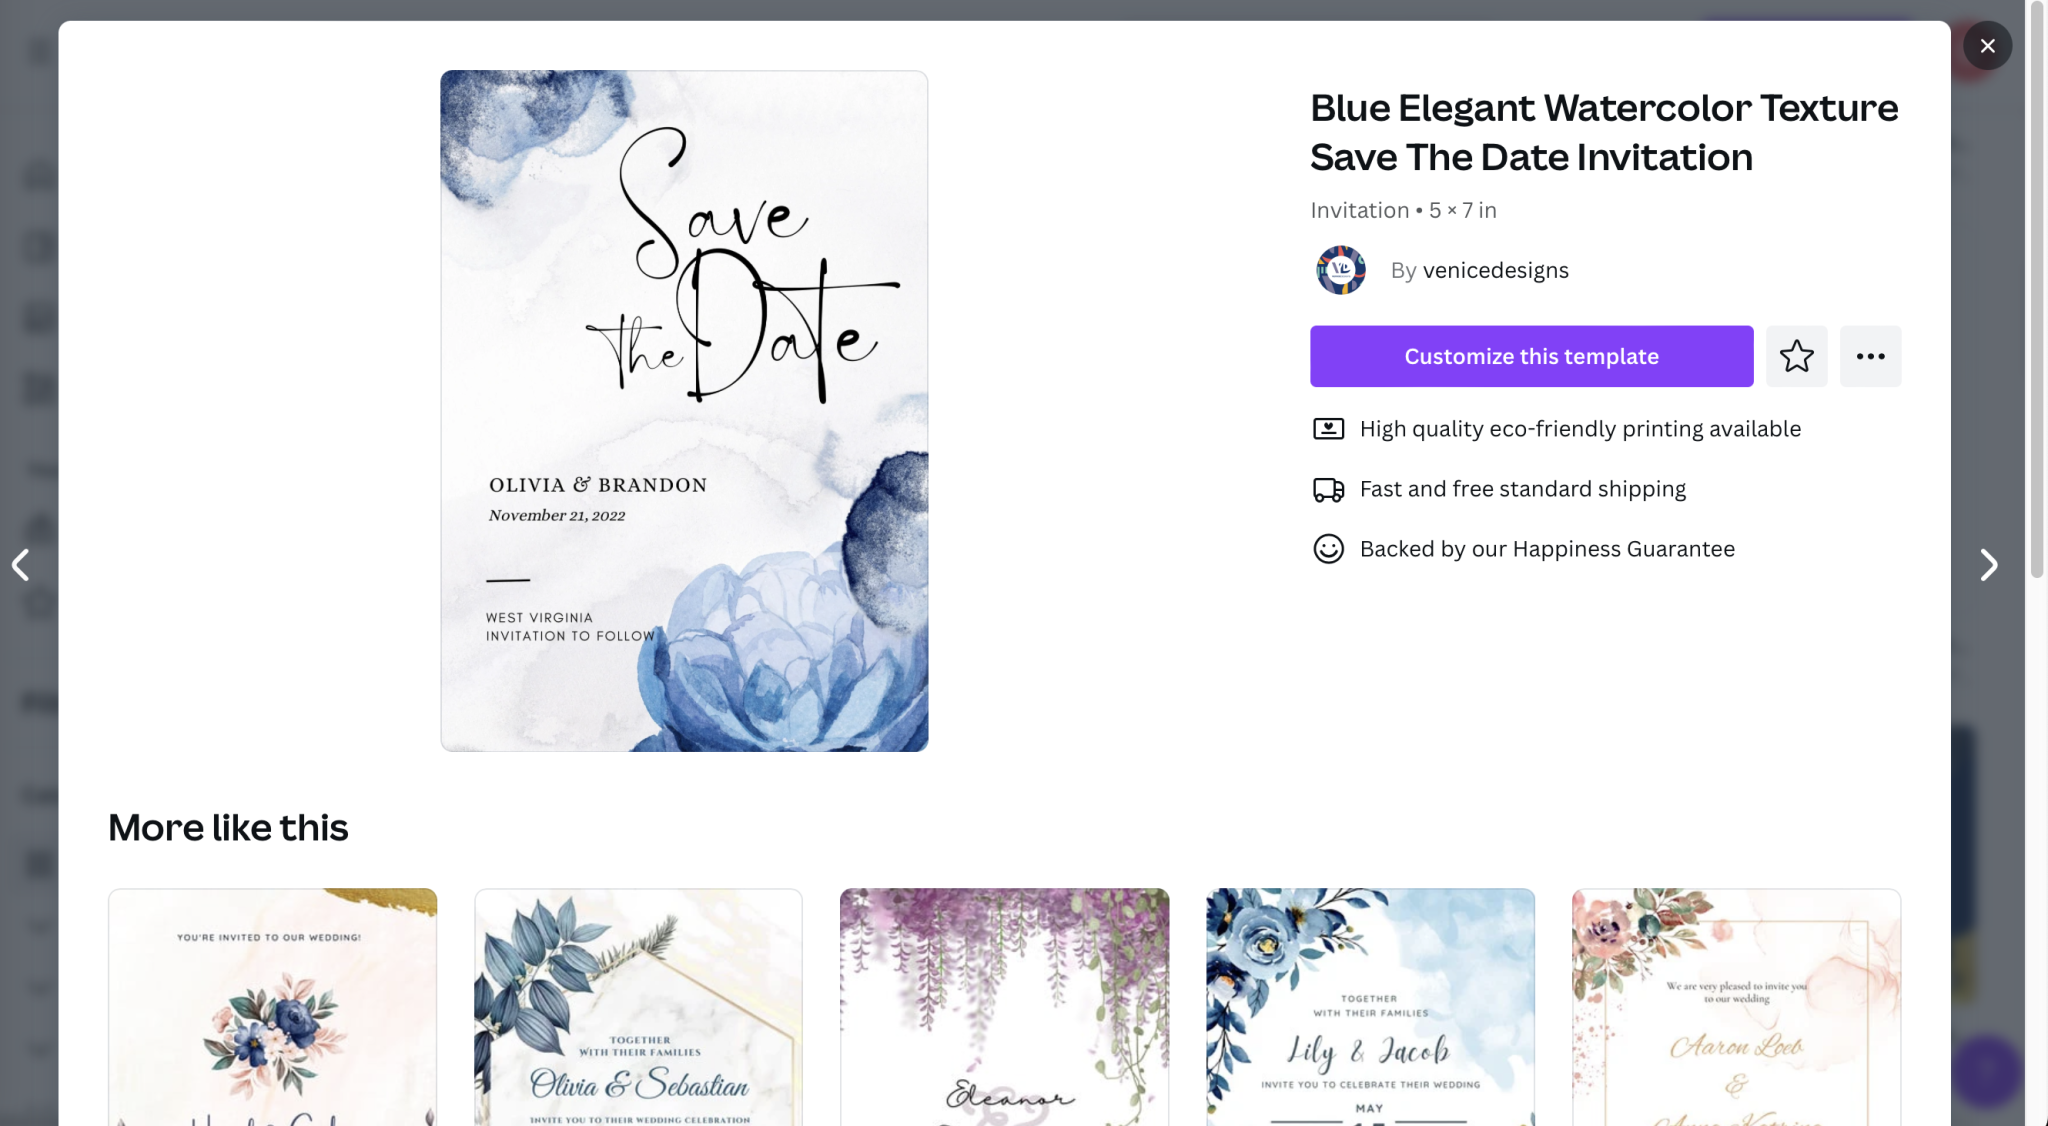
Perusing those templates will have you gathering inspiration you need to complete a completing personalized piece for your big day. You’ll be able to sift through sticker and art elements, images, and colors that could ignite so many unique ideas.
Step 4: Decide on the Colors
And once that inspiration has been ignited, you’ll want to decide on the color palette you want to utilize for your save-the-date. You may have a clear vision in mind for your colors before you even get started, but we urge you to dip your toes into the many tones that Canva has to offer before you finalize that decision.
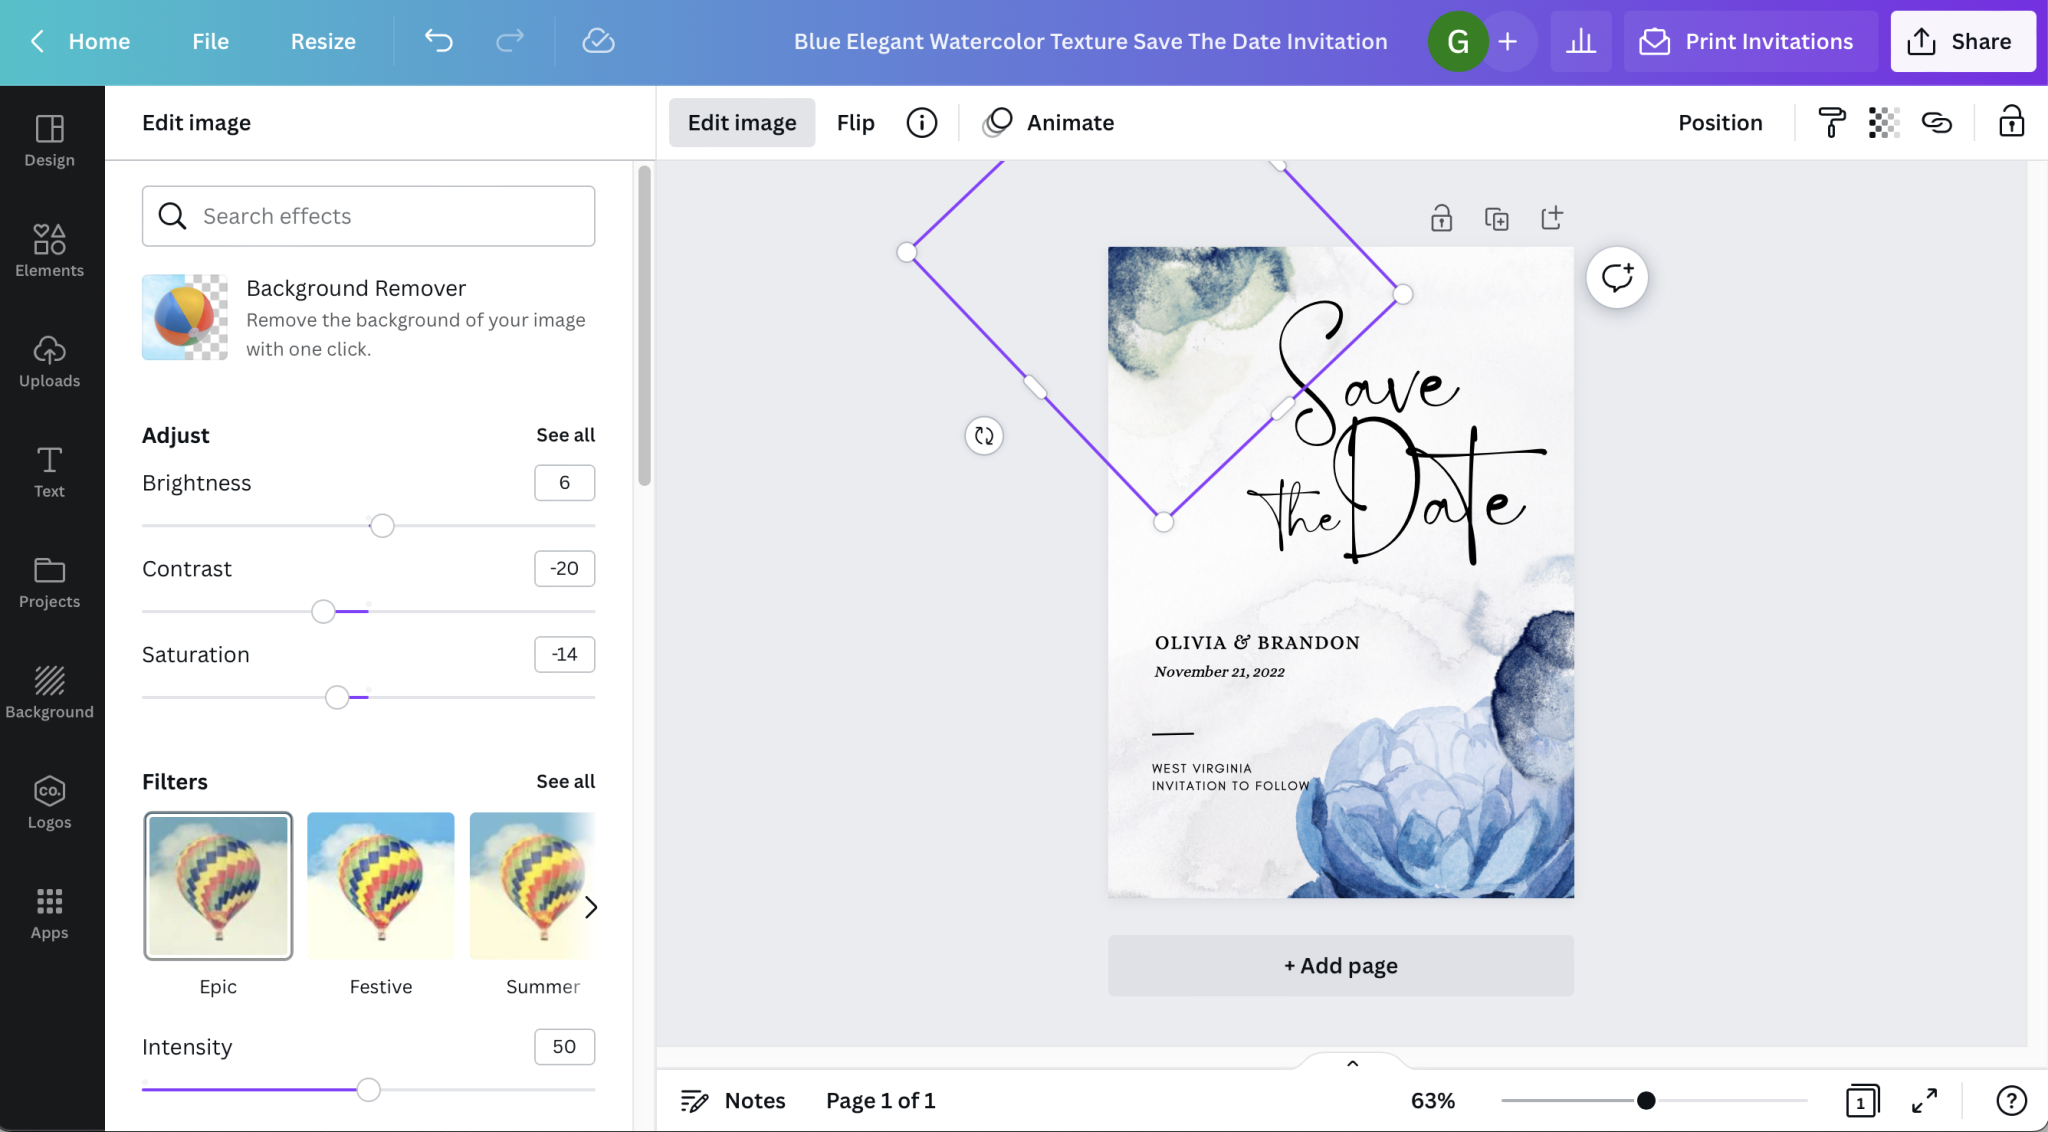
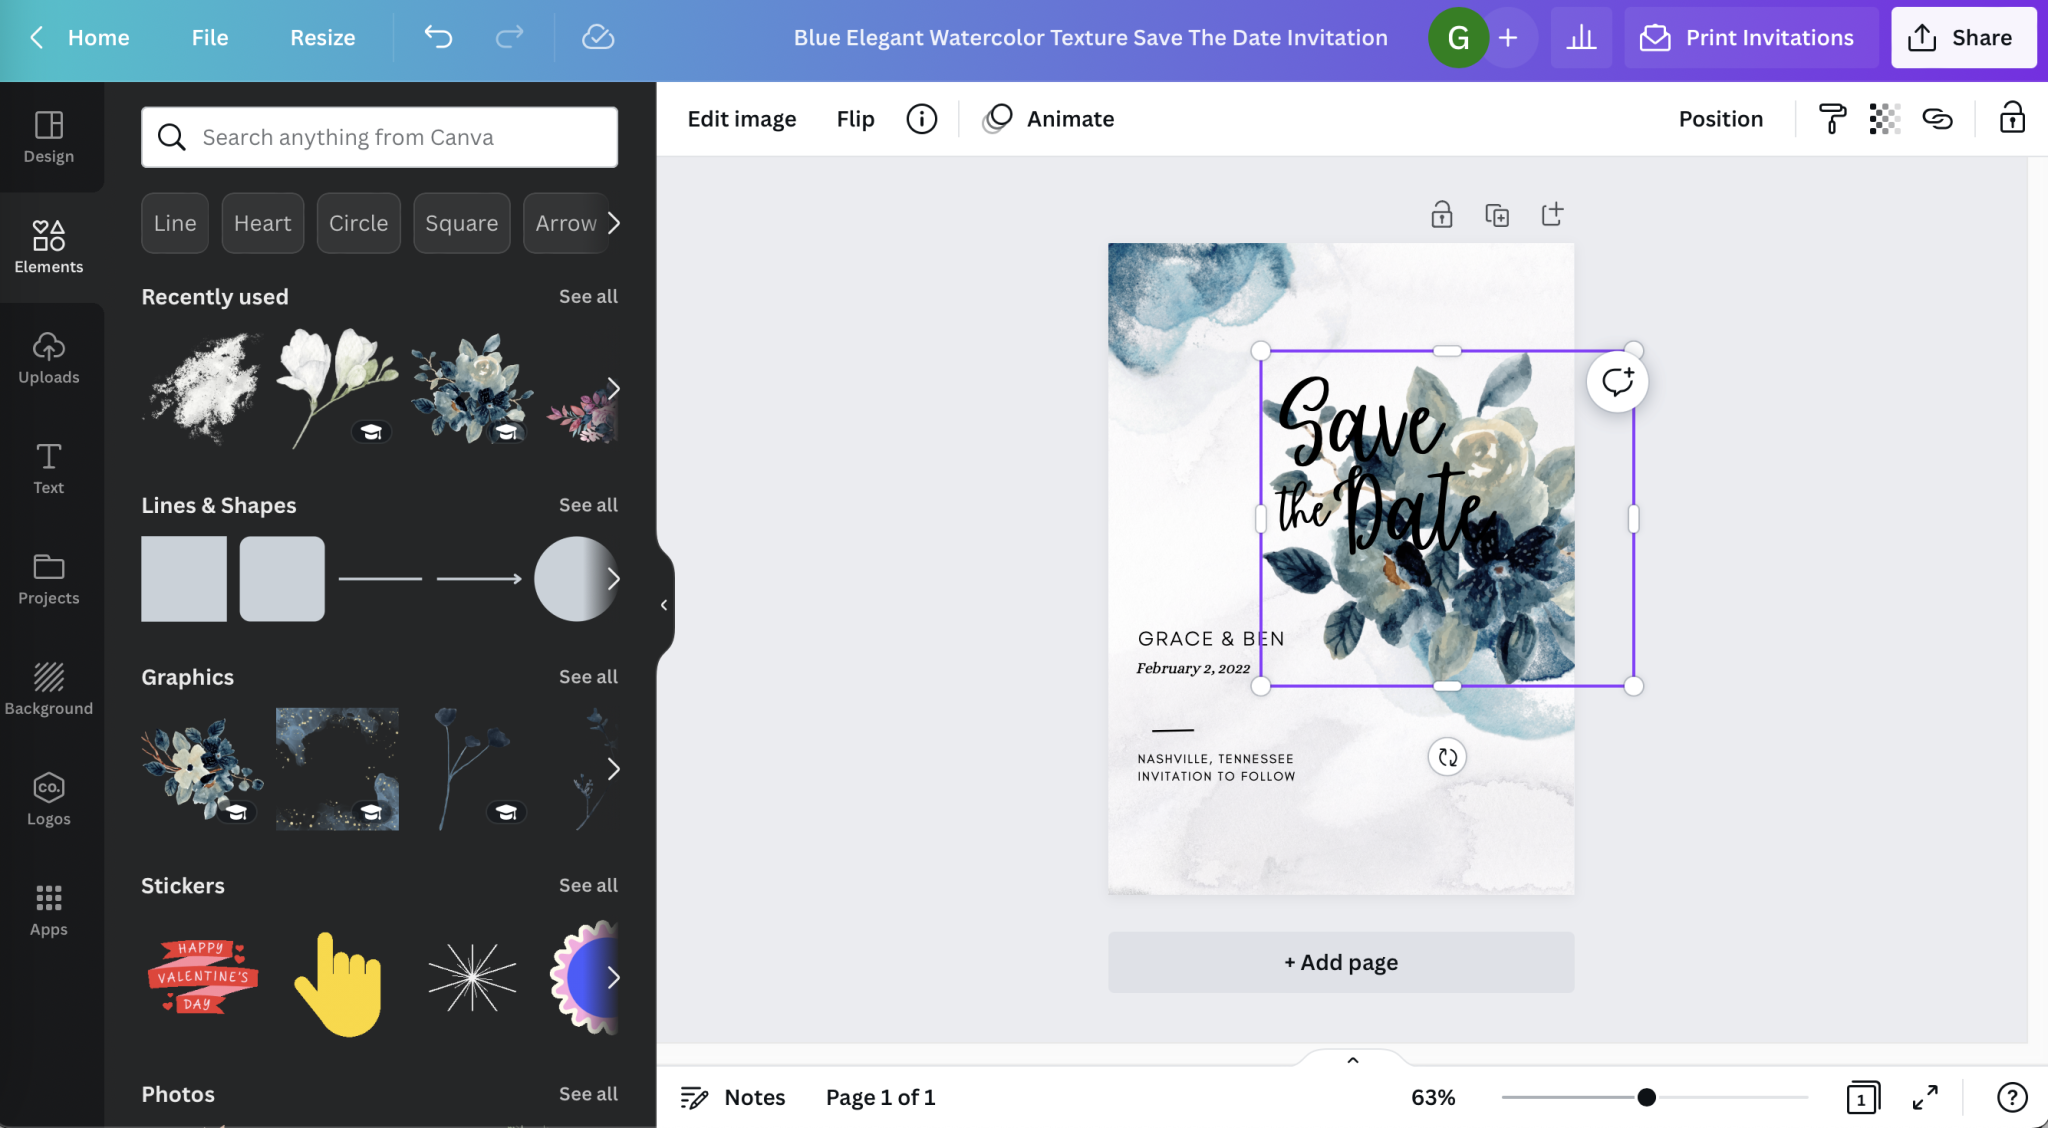
Step 5: Add in the Personalized Elements
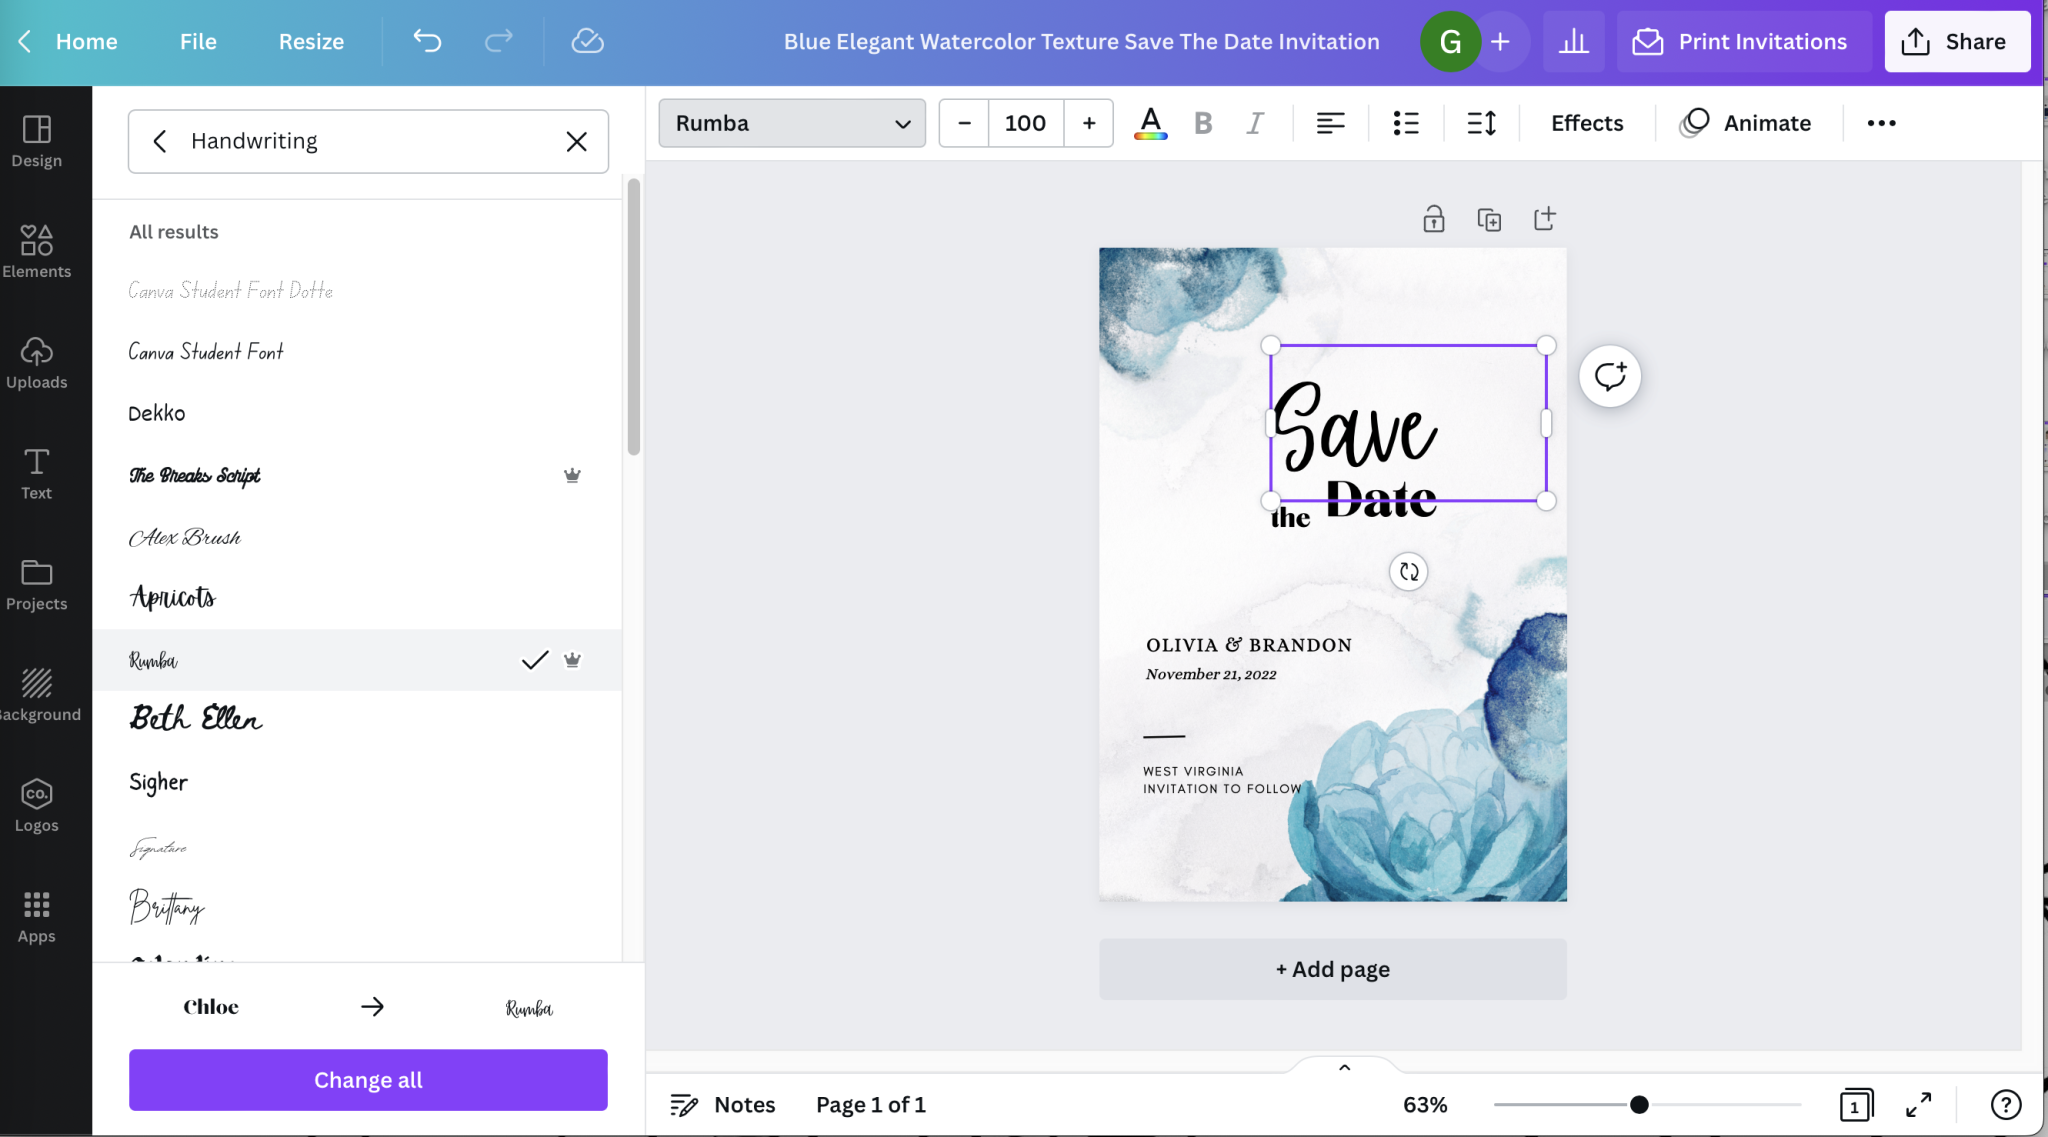
From the stockpile images to uploading your own photos to the design, it’s time to add in your personalized elements. This includes a vast array of fun, sophisticated, and vicarious fonts, and art elements such as stickers, borders, and more.
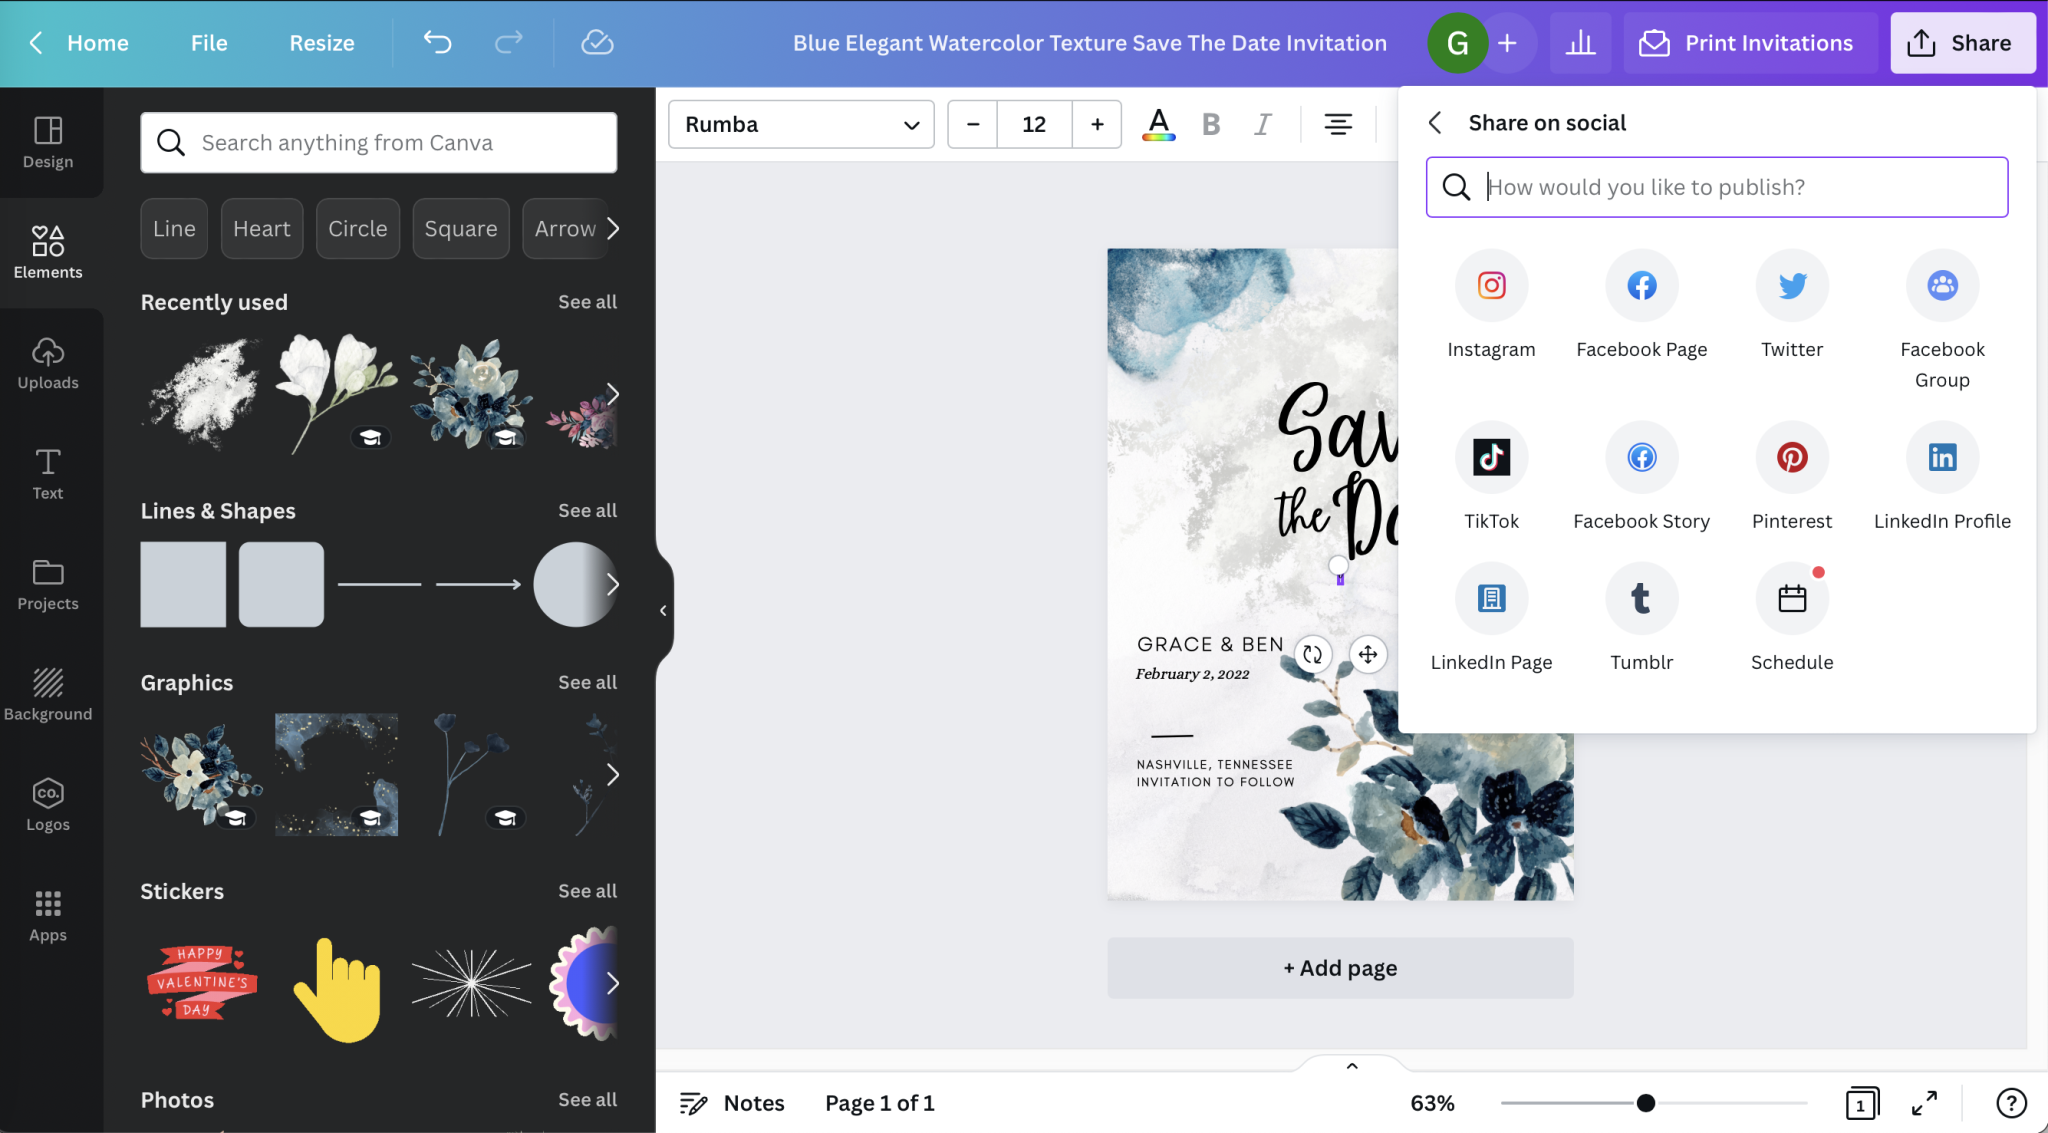
Step 6: Share Online to People & Platforms
As soon as you’ve completed your save-the-date, you’ll have the options to immediately and easily share online to all of your important people and throughout all platforms. You can share it via a vast array of social media networks such as Twitter, Instagram, and Facebook.
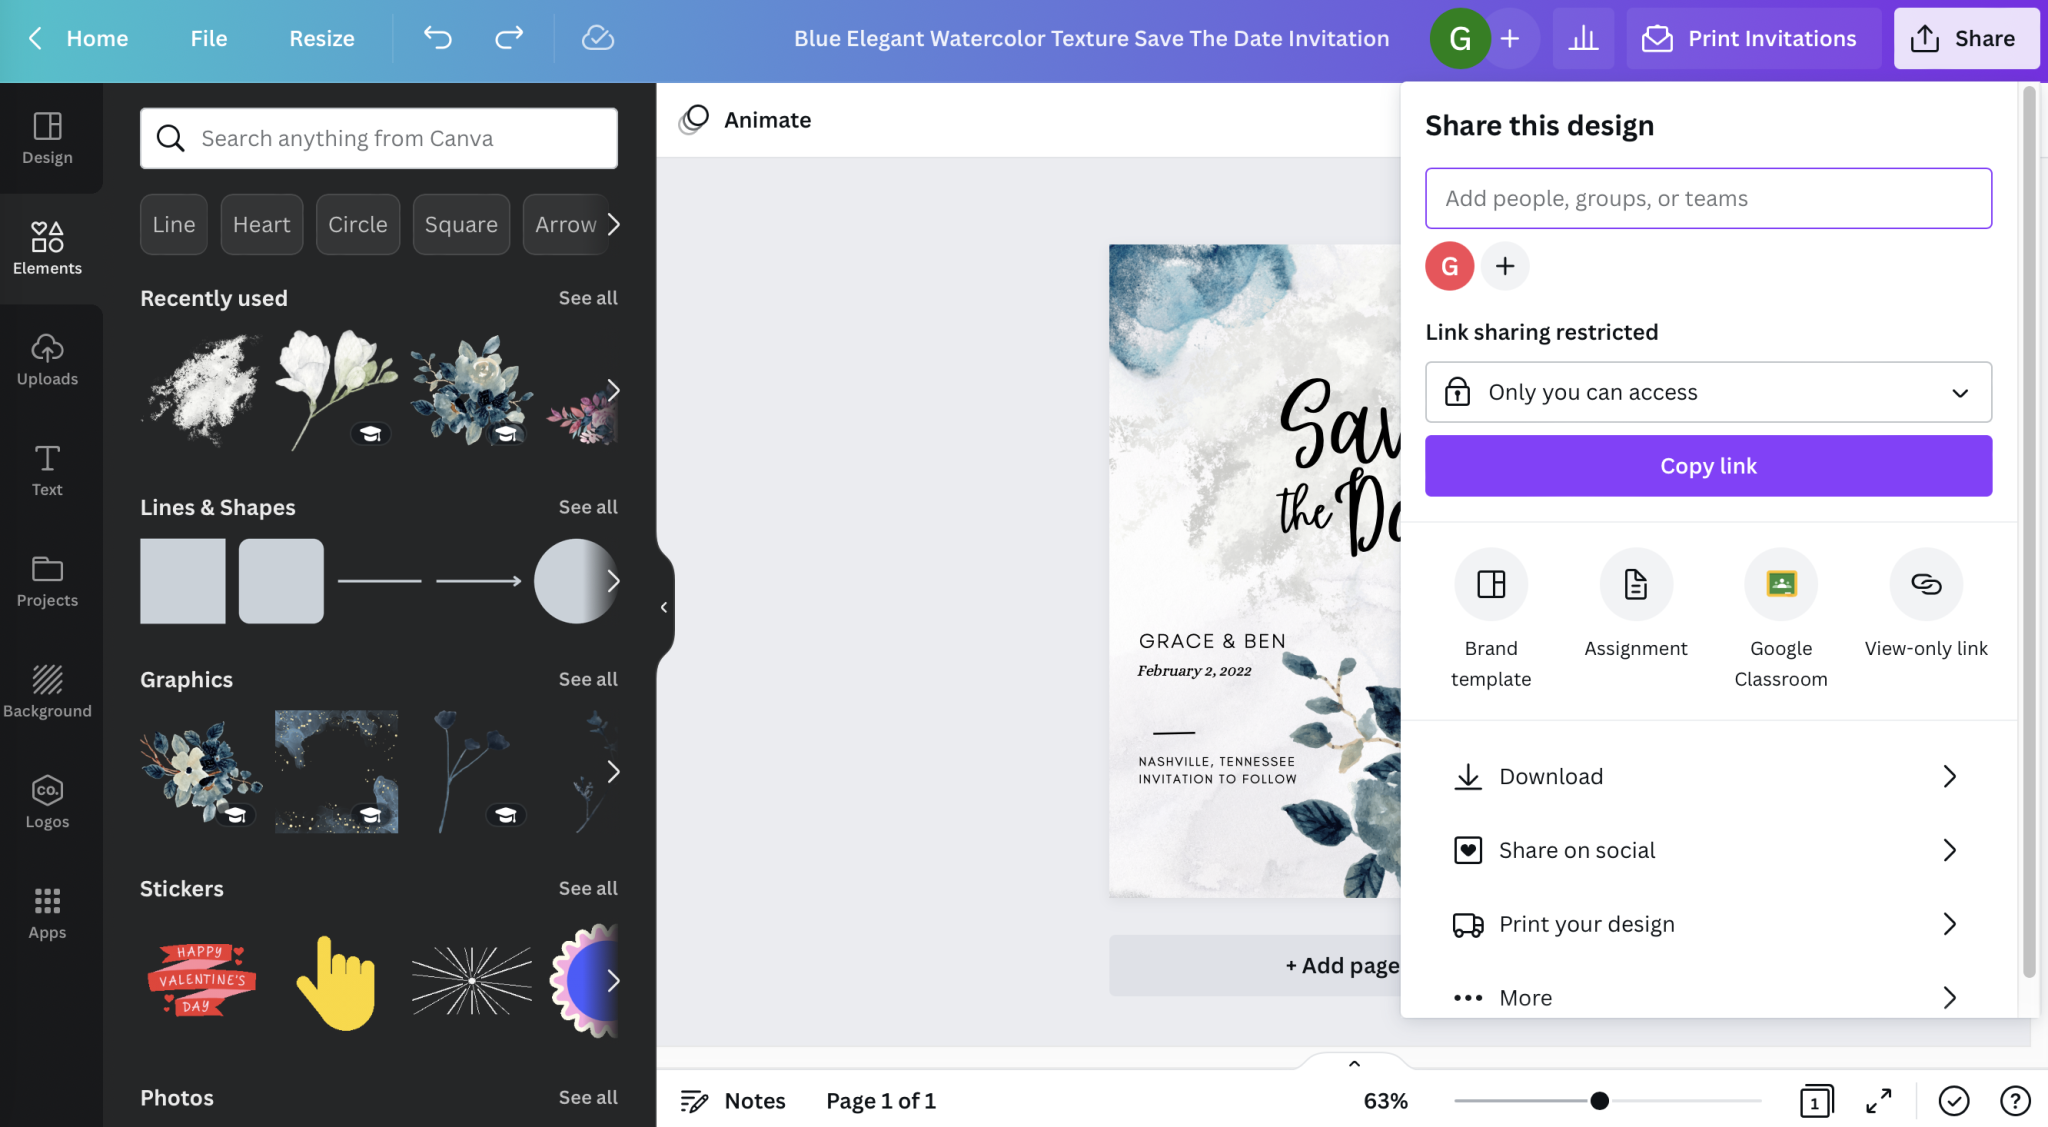
Step 7: Print!
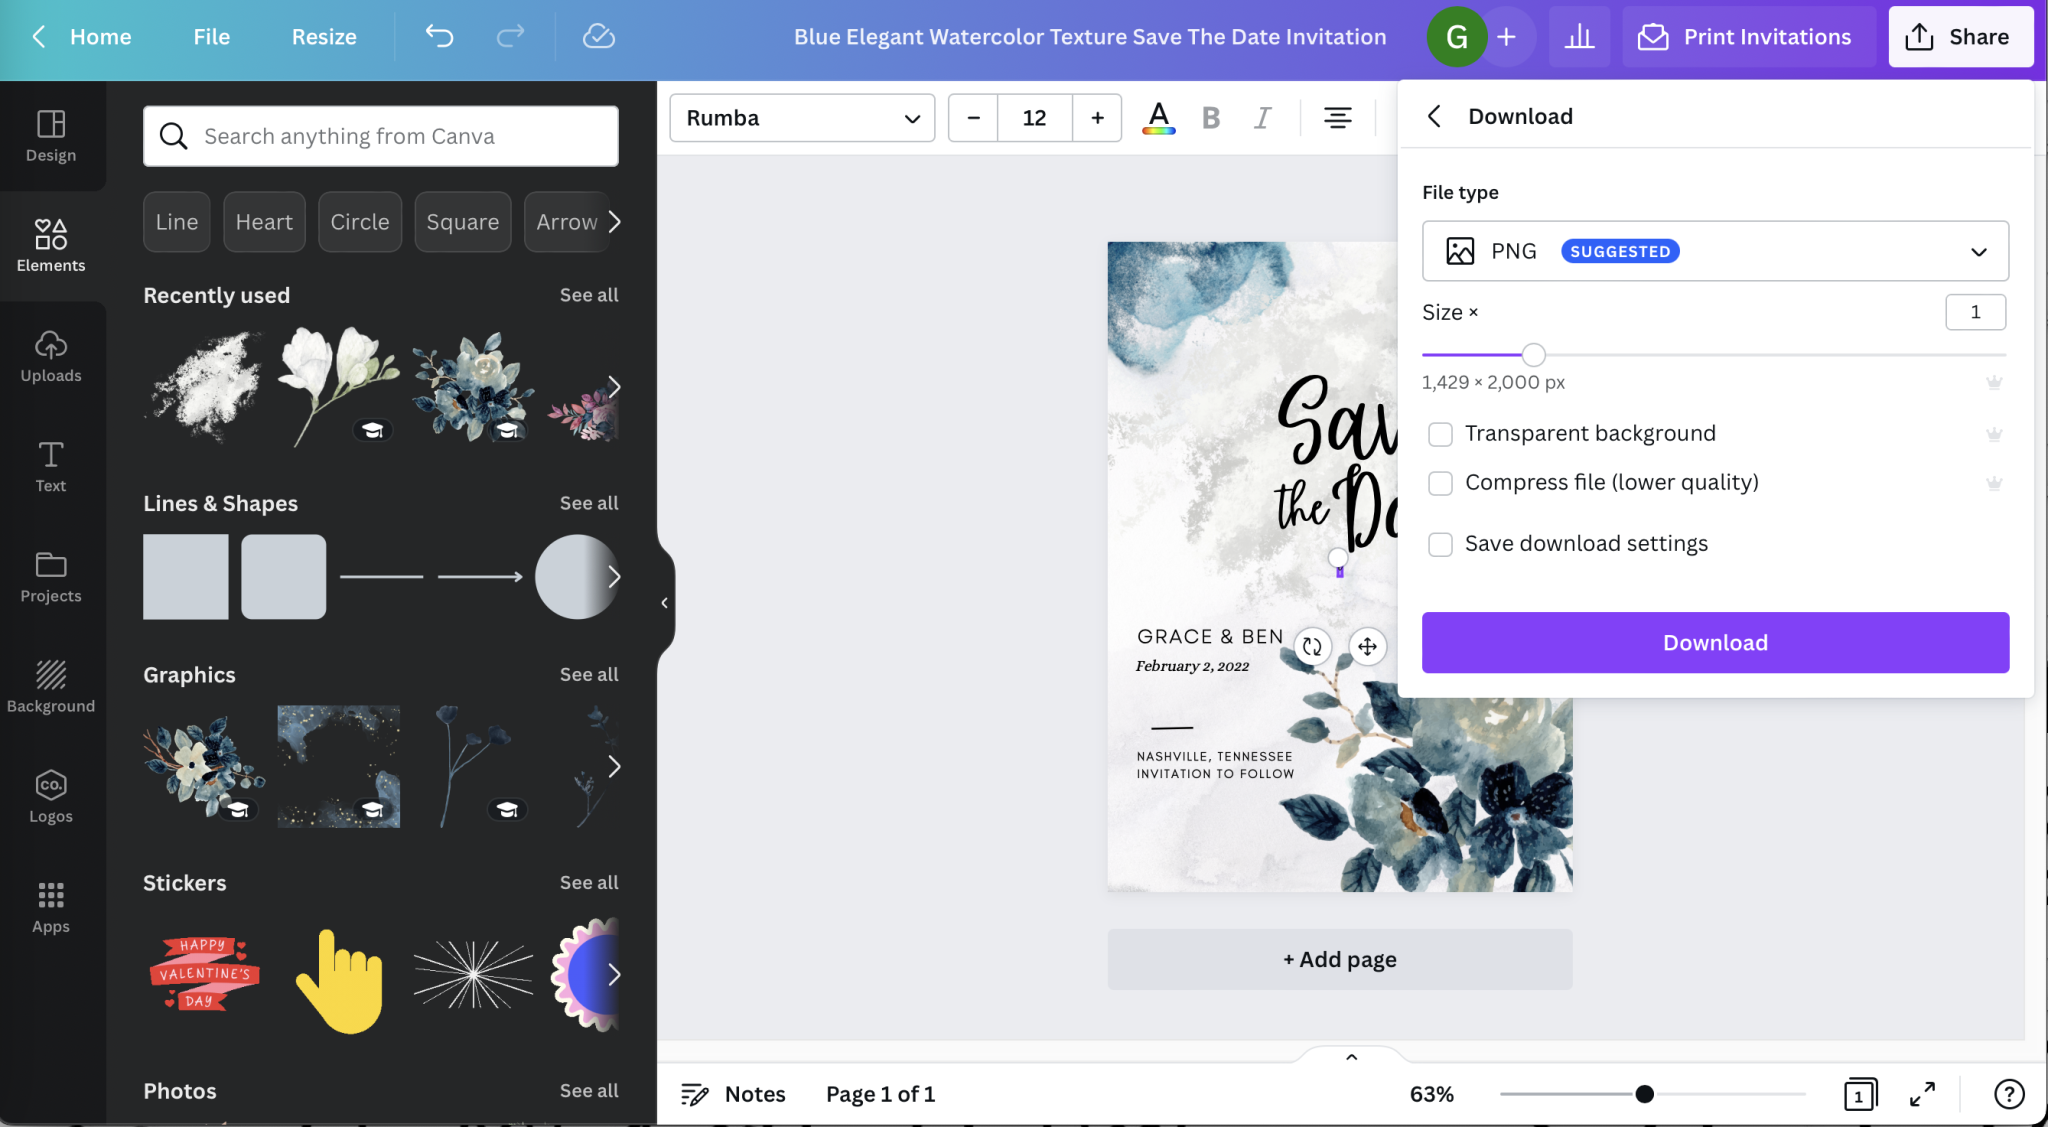
Download your creation as a PNG, JPEG, or even a high-quality PDF if you plan to send it to the printer. This is a great way to attach and send via e-mail as well. You can print all of your designs at home or easily send to a higher-quality and professional service.
Personalized Photographs & Art
Let’s dive more into the personalization portion of Canva templates. It’s so easy to experiment with backgrounds, grab elements from several different templates and add them to your unique design, or even mix and match color schemes. There are an array of complimentary fonts to have fun with and even animated elements that serve up some extra oomph when shared online. In fact, there’s over 1 million different additions to help you customize your designs and that doesn’t include the ability for you to upload any of your own memories to the mix.
Saving Designs in the “Cloud”
One of the many, beautiful ways that Canva stands out from the crowd is the easy saving within your account. You’ll be able to create hundreds of designs and they’ll save for you to use or customize at a later date without having to restart all over again. You won’t have to tear and save or dogear, instead, you can just create and everything will be saved to the “cloud” within your account. There’s an app you can download for easy access when your laptop isn’t around and you can share in-the-works designs with others who can help you, like your wedding planner!
Sharing Designs to All
Share your designs, invitations, posters, and more with just a few clicks of the mouse. It’s easy to share across all platforms and through email directly from the design page itself – even the most novice techies can get this done without a headache. Of course, you can download your design as any file of your liking so you can have them printed by professionals if you’re looking for a more traditional route.


