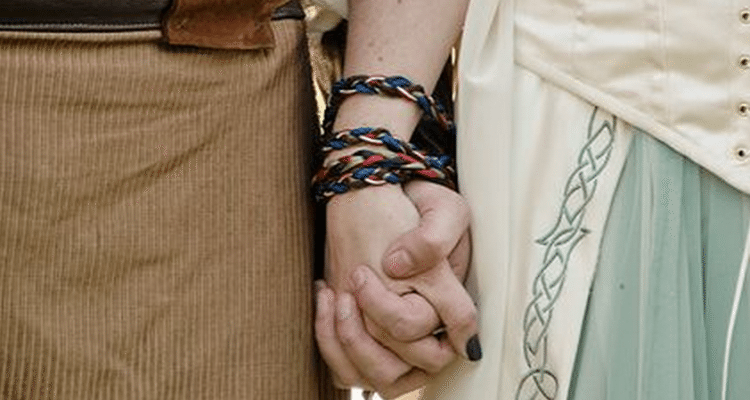
There’s an awful lot of information about the Handfasting ceremony. Libraries carry books on the subject, specialty shops sell special ribbons and cords for the ceremony itself, and you’ll even find boxes and porringers designed for holding those ribbons.
And yet, some of the logistics make the Handfasting ceremony something of a challenge. How do you handle all those cords or ribbons before, during and after the ceremony? If you’ve thought about the Handfasting ceremony but decided you know too little about it to go ahead, here’s the practical information you need to make it all happen smoothly and naturally.
Ten Tips for a Stress-Free Ceremony
1. Cords are easier to handle, so go for those rather than ribbons. However, if you’re only going to have one, it could be anything from a ribbon to an exotic piece of material.
2. If you don’t want your attendants to carry the cords in a container, place them on the table with the rest of the ceremonial paraphernalia — either hanging across the table, or in a box or bowl.
3. Decide whether you want to use just one cord, or half a dozen.
4. If using ribbons, you can have them tied, or wrapped around your wrist. If using cords, you can have a slip knot which slides up like a noose.
5. Decide who will tie them — the celebrant or your attendants. If using a number of cords, you could have a different attendant tie each one — male and female, alternating.
6. While your attendants or celebrant tie the cords, have your celebrant speak, explaining what each cord stands for. Or leave a card for each of your attendants involved in the handfasting. Each attendant can simply pick up the cord and read the words from the card.
7. Rehearse it! Rehearse the entire handfasting. Start where the celebrant calls the attendants by name. Go through the process where the attendant picks up the cord, returns to the altar, ties the couples’ hands and returns to his or her place in the bridal party. The attendant should practice taking it slowly and ceremoniously. Help your attendants place themselves cueing up appropriate background music.
8. Inevitably, the cords need come off before you sign the register. But here’s a thought. Although normally hands are tied cross-wise — the bride’s right hand in groom’s right hand — consider tying your inside hands instead. That is, if the groom is on the bride’s right arm, tie her right hand to his left. If you take this route, you can probably actually sign the register with your hands still tied. Which makes for great photos!
9. After the signing (in British weddings), you’ll return to where the ceremony began to be introduced as husband and wife. Before that happens, consider making an event out of the untying, as you did with the tying. Again, proceed slowly. Perhaps the celebrant can say a few words here, just as s/he did during the tying.
10. As the attendant unties each cord, s/he’ll return it to where it came from originally (such as the ceremonial table). When the whole wedding party’s back in their places, the celebrant greets the couple, and invites everyone to come up and offer best wishes.


