We’ve all marveled at wedding blogs long enough to crave that 100% personalized look that some brides pull off at their weddings.
You know the type: a genius at translating her individual personality into material things, like pocket fold invites or table signs. You want to be that bride!
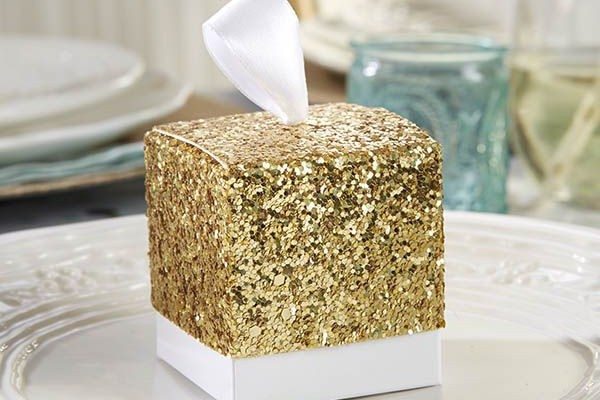
So, let’s say all that browsing’s put you in a detail frame of mind. You’ve got some gorgeous wedding favor boxes for those Amorini hearts, but they just look a teensy bit blah.
Of course, adding ribbon and maybe a personalized tag or label would add pizazz, but maybe you want your own twist on it. Well, read on for ideas!
How to Spotlight on Your Favor Boxes
1) Ribbon à Deux
A popular high-end look for favor boxes involves two ribbons: a thicker one on the bottom, and a thinner contrasting ribbon on top.
Here, you don’t need to stick to solids: try knocking together two subtle patterns, or choose one ribbon with another interesting detail, like saddle stitched edges. Experiment with sheers versus solids.
Upgrade: thread a small rhinestone buckle over your ribbons so it graces the front or top of your box.
2) Never Too Thin …
Typical favor box ribbon is about half-inch thick, or little less. But a wonderfully upscale alternative is super-thin ribbon (a.k.a. “dainty” double-faced satin ribbon). Wrap this twice around your box, like a Christmas present, and tie off in a bow. Très elegant! Again, work with more than one color to maximize visual interest. You can even layer two separate colors back to back, one color showing on each side, so that the bow displays them both.
3) Stamp it Out
Stamps are a fantastic, super-fast way of personalizing ho-hum boxes. Stamping works best if the card stock for your boxes is smooth, but not too glossy. Pick a motif that’s meaningful for your wedding and a custom color.
4) Strike up the Bands
Paper wrap bands are exciting, and under-used. They’re best for tuck-top or sliding boxes. All you need is some lovely paper: try wrapping paper, scrapbook paper, a design you downloaded off a stock image site, or something you even created yourself (do you paint? Create a design and scan it in!).
Now, use a paper cutter to slice your paper into bands as thick as your box or a bit thinner, wrap it around and secure with a glue stick. So custom! A square personalized label looks stunning on top of a paper band.
5) Make it Martha
Martha taught us how to wrap favor boxes in semi-translucent colored tissue. Tie at the top with ribbon, and add a custom monogram sticker to the ribbon. You can also wrap your boxes with tulle or organza. A favor box wrapped in shimmery stuff automatically looks twice as bridal.
6) Raise Eyebrows (and Monograms)
Custom-embossed favor boxes are incredibly chic, yet rarely seen. All you need is an embosser and a metal disc with your monogram or personalized design. Use flat-packed boxes, and run the tops or the box fronts through before they’re folded. Voila, an amazingly upscale favor!
Sure, the embosser involves an up-front cost, but you can literally use it for life: customize your stationery, your envelope flaps, your thank-you cards … you name it.
Hint: be sure to buy an embosser that’s strong enough for card stock.
7) That’s a Wrap
You can even wrap favor boxes in glossy wrapping paper, just like a gift. It’s painstaking to do, but the final result is sure to excite your guests.
8) Embellish the Story
Embellishments can turn a Yugo-style favor into a Maserati in seconds! Take your ribbon-wrapped favor box, and add a beautiful mulberry-paper flower: you’ll find daisies, sunflowers and roses, all pre-wired for bridal bliss (try eBay). Or for a more romantic or formal feel, add a pewter charm in the shape of e-rings, champagne flutes or hearts. You can find these at favor sites or scrapbooking stores.
9) Send the Message
A final idea that’s subtle but surprising: line the inside lid of a two-piece favor with a special message to your guests. (Print these out on label paper, cut and stick.)


